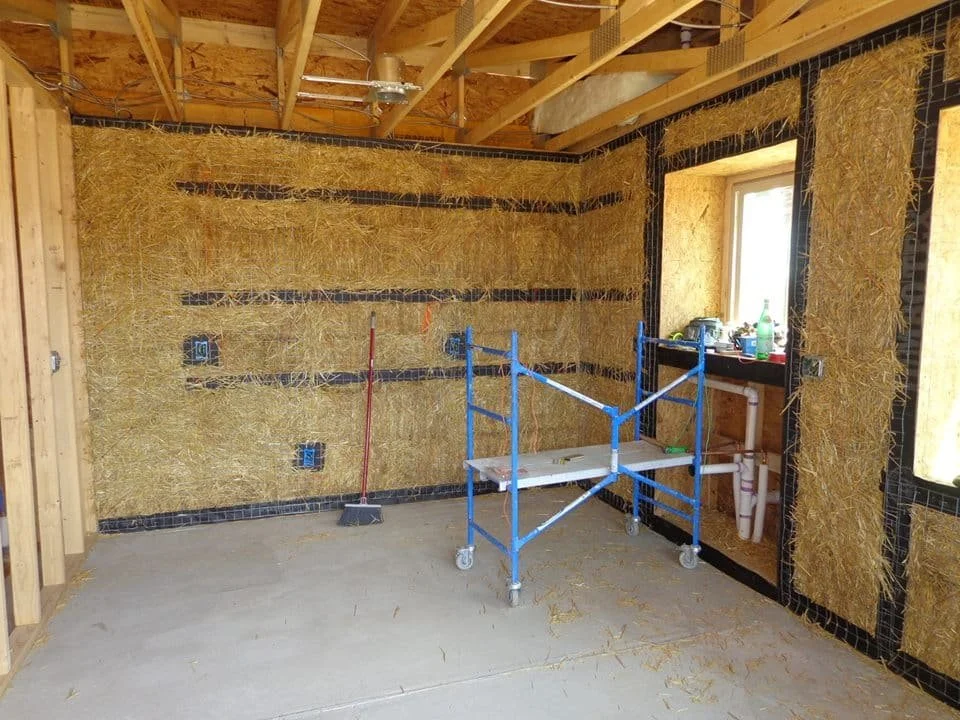
Hanging Cabinets On Straw Bale Walls
Yes! You Can Install Cabinets on Straw Bale Walls—Here’s How
One of the most common questions we hear during our workshops is:
“Can I hang kitchen cabinets in straw bale walls?”
The answer is absolutely—with the right prep and technique, installing cabinets into straw bale walls is both straightforward and secure. Whether you're planning a cozy kitchen, a bathroom vanity, or storage in a utility room, here’s how to get it done safely and efficiently with the technique using notching.
Note: Notching works best with bales laid flat, but it can still be done with bales set on edge. It just takes more care due to the exposed strings.
(psst, There is also an entirely different approach that does not involve attaching cabinets directly to the bales. Watch for that in another blog, or join us at a workshop to see it in person!)
🔨 Step-by-Step: Hanging Cabinets on Straw Bale Walls
1. Create a Notch for the Nailers
Cut a notch in the straw bale where the cabinet will be mounted. This is most often accomplished with a chainsaw, and if you’re using this tool, be sure you are working safely.
Depth: About 1½ inches
Height: About 4 inches
Placement:
For base cabinets: Cut the notch just above the base
For upper cabinets: Cut the notch just below the top edge
This notch corresponds to the area where you’d normally see mounting screws on the back of your cabinets.
Protip - Small, short-barred electric chainsaws work REALLY well for notching and are much easier to control for safety.
2. Install the Nailers
Place a 2x4 into each notch, then tie it into the bale using a baling needle and twine to secure it through the bale wall with the twine cinching the 2x4 to the straw.
Pro Tip: Use this method before you install the mesh on your straw bale walls.
3. Attach and Reinforce the Mesh
Once the 2x4 nailers are in place:
Finish the installation of the welded wire mesh.
Staple the welded wire mesh securely to the nailers to prevent movement.
Complete the wall, including sewing the mesh through the wall and tie it over the mesh on the opposite side for maximum hold.
If the notch was overcut and there’s a visible gap around the nailer, you can use low-expansion foam to fill the void. Just be careful not to let the foam spill through the mesh—it’ll need trimming if it does.
4. Mark Nailers for Future Cabinet Installation
This part is critical:
📸 Take a photo of each nailer with a tape measure stretched from the finished floor to the center of the nailer.
Use close-up shots to clearly show each location.
These photos will be invaluable later, when the walls are plastered and you need to locate the nailers for installation.
Pro Tip: More photos with the tape measure are better than less! A quick video as an overview reference is also quite handy.
5. Think Ahead for Flexibility
If you have a long wall with cabinets planned, consider installing extra-wide nailers or even additional ones. This gives you room to adjust the cabinet layout in the future—without opening up the wall again.
✅ Why This Method Works
This approach preserves the strength and insulation of your straw bale walls, while offering a simple, secure method to hang heavy cabinetry. It also integrates seamlessly into your construction process—especially if you’re already using mesh as part of your wall assembly.
🏡 Want to Learn More About Building With Straw Bale Walls?
Installing cabinetry is just one part of creating a fully functional, high-performance straw bale home. If you’re ready to take the next step, join us at a hands-on workshop where you’ll gain the skills and confidence to build your dream home from the ground up.
Updated: April 18, 2025

