Finish Plaster Texture Options
There are a lot of finish plaster texture options available for your straw bale home and knowing which one is best for you can be difficult. The best decisions are based on understanding the combination of application-technical difficulty, personal aesthetics, durability, crack hiding ability, and material availability. I have given a short description for several of the most common finishes below.

Some are better suited for interior finishes and others for exterior use. I have not rated them in terms of technical difficulty because that is only relevant if I know the skills of the person completing the work.
For example, even the best plastering crews may not be good at a particular finish if it is not something they do very often. I hope this will be a basic guide for you to start your journey in educating yourself on plaster finishes.
If you plan to do the work yourself, the biggest suggestion I have is to practice, practice, practice...and NOT on your house. Create a mock wall that you can work on until you feel comfortable. Better yet, once you have finished your work on the mock wall, build a small straw bale structure like the Sunset Cottage that you can practice the entire building process on before you start your main home.
Want some hands on experience? We plaster in all of our hands-on, seven-day workshops so click here to see if there is a location and date that works for you.
If you plan to hire the work out, be sure to make clear the style of finish you want on the home and then confirm, preferably with references, that the contractor can successfully complete the style you want.

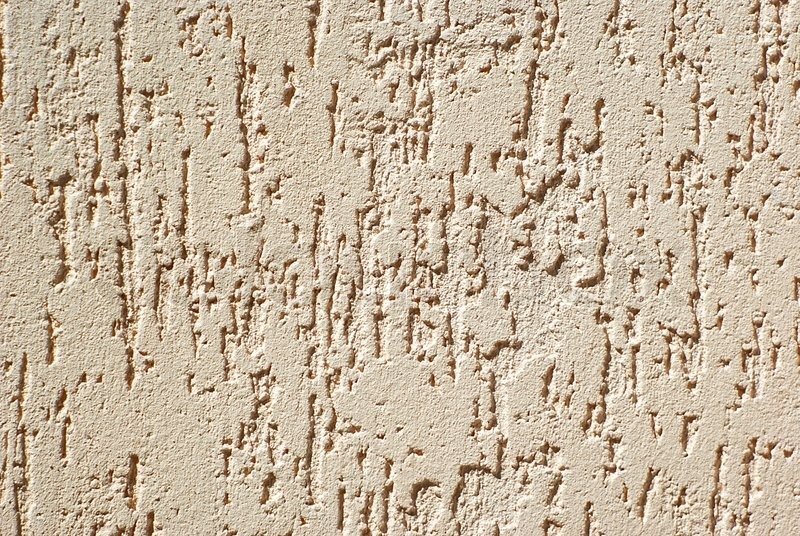
Sand/Float

This is perhaps the most common finish for a straw bale house exterior. It is basically created by either hand troweling or spraying the finish coat of plaster onto the wall and then smoothing it with a very slightly dampened sponge float. The float smooths the trowel marks and pulls the sand up a bit to give the texture. You can create a fine, medium, or coarse finish depending on the size of sand that you use. This texture does a good job of hiding cracks if the texture is coarse, but less so with a fine finish.
Smooth

This texture is often used on exteriors, but is better suited for interior surfaces where the rough textures of floated finishes are not as good a choice. After all, sanded finishes tend to slough sand for a while after application and that can be a dirty experience inside a home. It tends to show cracks easily and is very difficult to perfect. To achieve this finish, use a pool trowel which is more flexible and has rounded corners.
Cat Face

cat face plaster finish
This is a great interior finish as it provides smooth walls while still offering some texture and random patterns that make the overall appearance more interesting. Although I prefer it as an interior finish, I have seen it used on exteriors with success as well. Cat face is created in a two step process. First, a finish coat of about 1/8" thickness is applied and finished fairly smooth. Before it has a chance to dry, another coat of about 1/8" thickness is applied and smoothed. The number of inclusions, or depressions in the plaster, is up to the finisher and how smoothly the final plaster is finished. This texture is sometimes called "Green on Green" because is uses two layers of green (fresh) plaster in one application to create the effect.
Dash

Dash Finish Plaster Texture Options
This plaster finish can be applied by one person which makes it appealing for a DIYer. It is applied either by hand with a masonry brush or by spraying the plaster with a hopper sprayer. The mud is actually tossed (or sprayed) at the wall leaving a rough and raised texture. It is a great exterior finish and supplies good coverage for cracks. in other words, cracks are hard to see within this finish and don't tend to develop, as long as the base coats are well applied. Similar to the Cat Face approach, this finish requires a minimum of two coats, and those are on top of the the scratch and brown coats. This is an example of harling, a traditional plastering technique used in the United Kingdom for hundreds of years, so the longevity of the finish is well established.
Worm
Worm Finish Plaster Texture Options
This finish is relatively easy to complete as it involves finishing the plaster in circular motions with either a steel trowel or plastic trowel. The key to this finish is using round sand. The more coarse that sand, the bigger the "worm tunnels," which is what gives this texture its name. the finish hides cracks and imperfections well; however, it is often used in commercial applications so it may not have the refined look you are after.
-Andrew Morrison