Retrofitting an Existing House with Straw Bale Construction
Many people are interested in retrofitting their existing homes with straw bales. This is possible; however, a specific set of concerns exists with straw bale construction in relation to retrofitting an existing structure. Read on to learn the key areas to consider.
Straw Bale Construction Best Practices
Good Hat - Roof Considerations
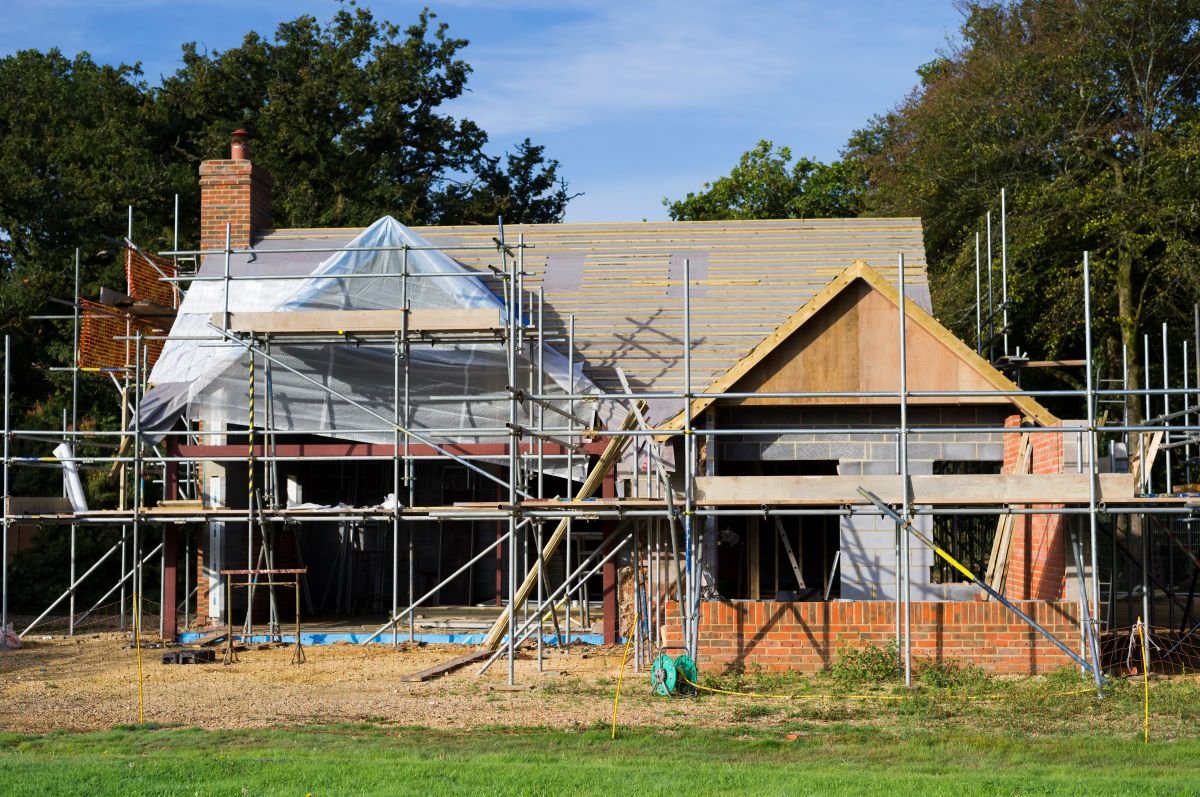
The most important thing with straw bales, no matter if it is retrofitting or new construction, is to keep them dry. This includes rainwater and moisture. With that in mind, it is important to retrofit the building with large overhangs to protect the new walls from rain. Keep in mind that even if the building had reasonable overhangs to begin with, the thickness of the bales would have cut down on the overhang by at least 14 inches.
The application of new overhangs may require a change in the roof design. For example, if the slope on a roof is 6/12 (six inches in vertical gain for every 12 inches in horizontal movement), the overhangs will drop the fascia and gutters very low on the wall if you extend them an additional 2 to 3 feet.
You may even end up blocking views from your windows and interfering with door swings. You may need to change the roof design by lowering the slope to 2/12 and then extending it out 2 to 3 feet. You would, in this case, be creating something akin to a deck roof over the new walls. In fact, this may be the best solution for some of the walls: a patio roof or veranda.
Be sure to keep solar gain in mind if you choose this solution. This is not to say that you have to change the slope of the entire roof, just the new section you are adding.
Door and Window Wells
Another situation to be aware of is deep wells created by leaving the windows and doors in place. Having window seats and deep wells on the outside of a building is asking for water damage.
We suggest moving the windows to the outside of the bale wall by building new windows and door bucks. As always, extra attention needs to be paid to the details around the windows and doors and to the space from which the windows and doors were moved.
Moisture Protection
With the walls protected from direct rain, we move to consider moisture. If the house or mobile home you want to wrap with bales already has siding, as we assume it does, there will be a chance of trapping moisture behind the bales.
Many homes use building paper (Tyvek®, Typar®, or the like) behind the siding to reduce moisture problems in conventional homes. We have learned over the years that such paper is a major problem in bale homes as it traps moisture in the walls and contributes to bale rot.
The siding itself has the potential to cause similar problems. Therefore, some separation must be maintained between the bales and the siding.
One option is to remove the siding entirely and notch the bales in and around the framing. This is time-consuming and potentially dangerous as the structural sheathing in the walls will need to be removed as well. This will weaken the structure and may undermine the original engineering of the building.
Another option is to add breathable netting and air space between the bales and the existing siding. (Here’s an example MortarNet.com).
These breathable netting systems are designed for masonry applications to prevent mortar from filling the air space and creating mold and moisture damage behind brick and stone veneers.
Using the same design and materials, moisture can be directed away from the bales and out through weep holes in the bottom of the assembly. This is the easiest way to ensure a moisture break and air circulation behind the bales.
Great Boots - Foundation Considerations
Finally, the foundation must be big enough to handle the bales and high enough to lift them off the ground. You would also want to consider the amount of weight being added with the bale walls and plaster.
Use the standard design for raising the toe-ups and creating the foundation unless the inspector requires the mobile or existing home to be on the same footing (very possible).
In this scenario, you will need to make a wider footing or stem wall that spans the bales and the mobile home or can be attached to the existing foundation using epoxy bolts. You may want to incorporate a rubble trench foundation with a bond beam/stem wall to minimize the use of concrete. Much of this may be at the discretion of the building department.
Conclusion
We like the idea of retrofitting because it minimizes waste. Imagine how many trips to the dump you will save by adding bales to an existing structure rather than tearing it down.
As with any project, there are specific places of concern that need to be addressed within the retrofitting process. Pay attention to the details and get into the mind of moisture. If you were water or moisture, where would you create problems?
Find those areas and plan ahead. It is crazy to think, in this project or any other, that we, as builders, can stop water from “getting in” forever.
Plan a way for the water to get back out without damaging the bales or the structure, and you will have a house that lasts longer than you do!
If you have questions on a particular project, whether design or installation details particular to straw bale home construction, we’re here to support you. Learn more about how to get expert support here.
Bale on,
Timbo