Find Answers To Your Straw Bale Construction Questions
Essential articles, how to guides, and stories from builds across the countryDive into step by step how to articles, code and permitting tips, materials sourcing, design strategies, and workshop updates. Whether you are dreaming, planning, or building, you will find practical answers and inspiration from the field.

Explore by Category
- Construction Details 42
- Natural Plastering 20
- Workshops 15
- Tips and Trade Secrets 13
- Tools and Materials 10
- Design and Engineering 9
- Inspiration and Community 9
- Strawbale FAQs 9
- Costs 7
- Foundations 7
- Framing 7
- Contracting and Consulting 6
- Moisture Management 6
- Codes and Building Officials 5
- Repair and Maintenance 5
- Financing and Insurance 4
- Homesteading 4
- Flooring 3
- Landscaping and Yard Art 3
- Load Bearing Construction 3
- Finish Work 2
- How To Straw Bale Construction 2
- Performance and Testing 2
- Product and Book Reviews 2
- DIY & Owner Builder 1
- Electrical 1
- Fire 1
- Timber Frame 1
- Utilities 1
- Videos 1
Looking for Straw bale homes for Sale? View Here.

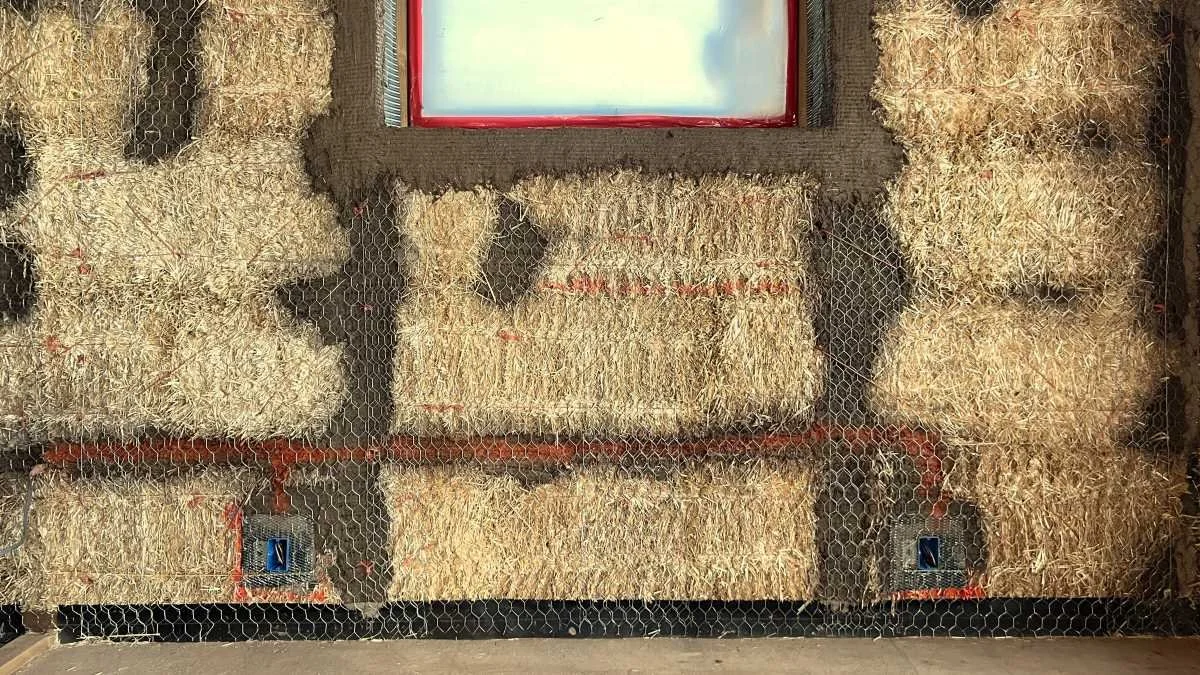
Drying a Wet Straw Bale Wall From the Inside Out
A wet straw bale wall feels like a major setback, especially when moisture readings are high in the middle of the bales. On one recent project, a modified wall-cavity dryer helped move warm, dry air deep into the wall and provided a practical option before tearing into the bales.
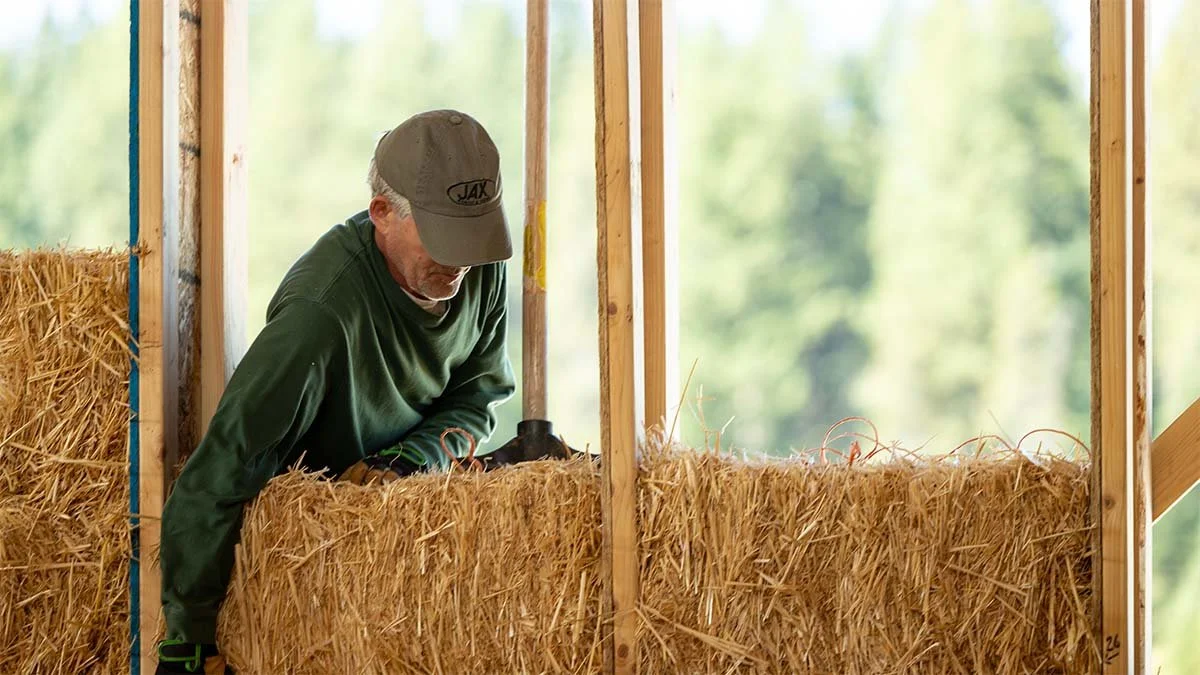
Common Straw Bale Installation Mistakes That Make Wall Prep Harder
Good straw bale installation is not only about getting the bales into the wall. The quality of the bale work affects wall prep, plaster prep, and the finished surface. This post looks at common bale installation mistakes and how better fitting, shaping, and attention during installation make the next steps easier.
What Makes Straw Bale Installation Easier or Harder?
Some straw bale wall systems make bale installation smoother, while others require more time, fitting, and labor. Learn how design choices affect the work.
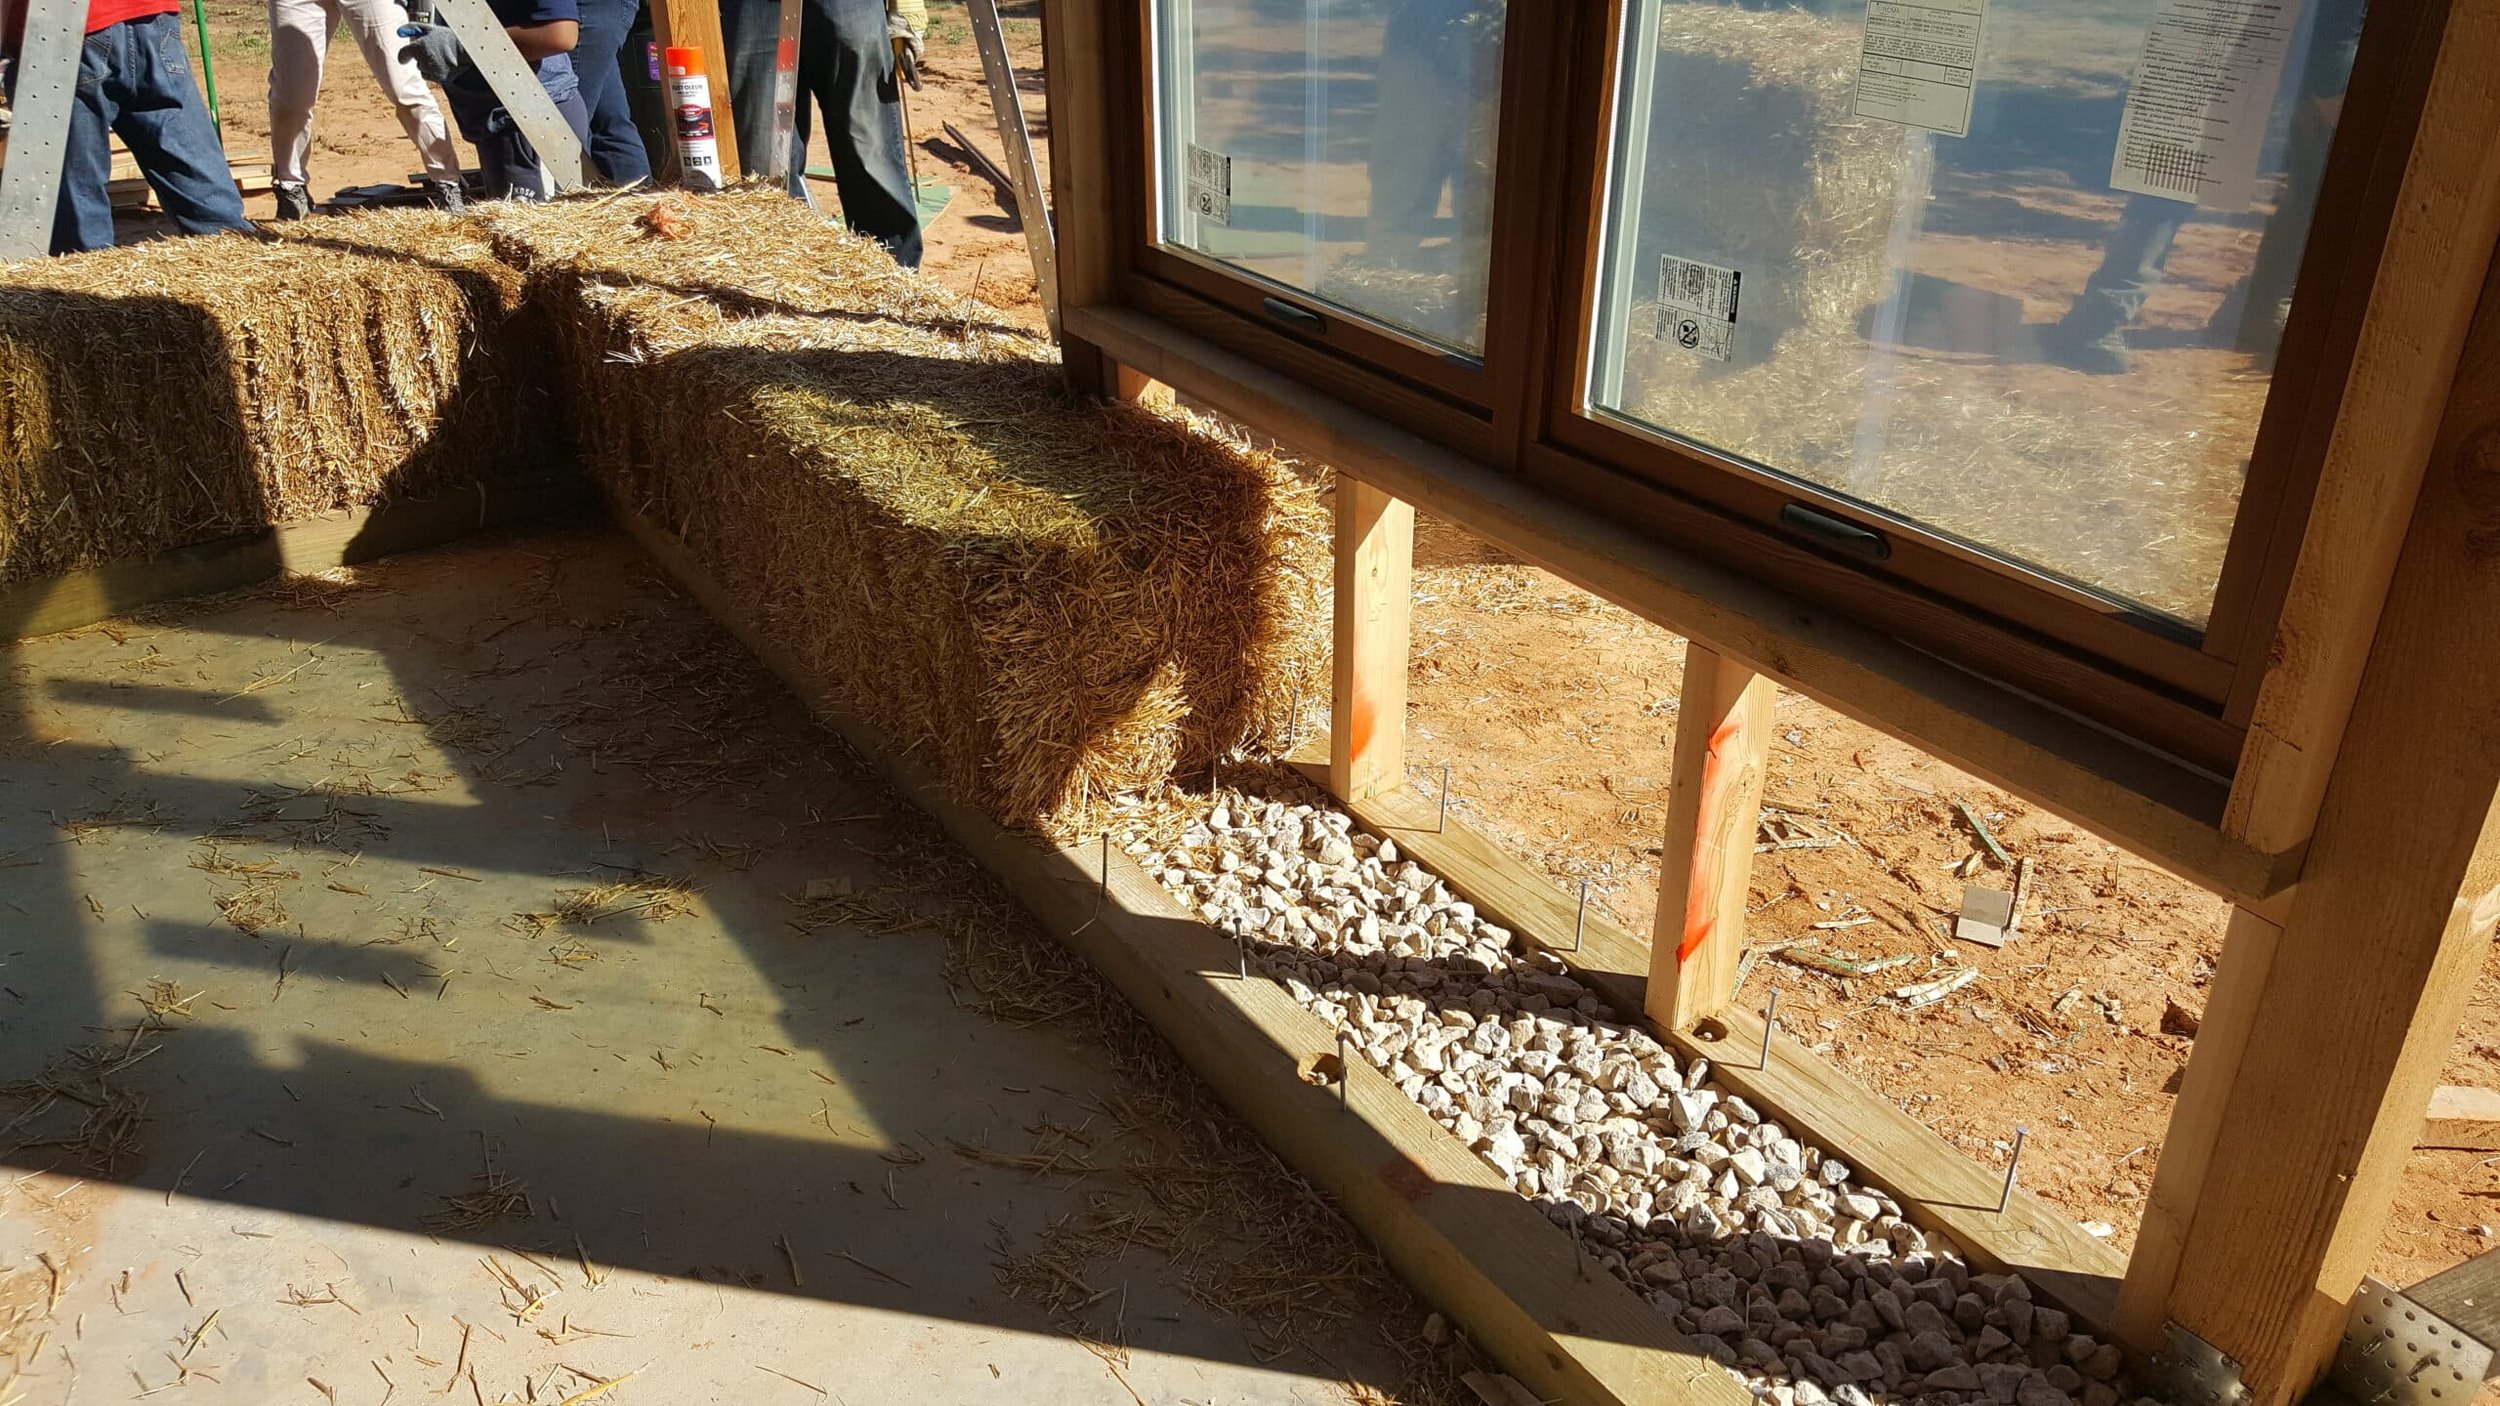
Rethinking Toe-Up Insulation in Straw Bale Homes
Is it enough to have just gravel in your toe-ups, or do you need something more?
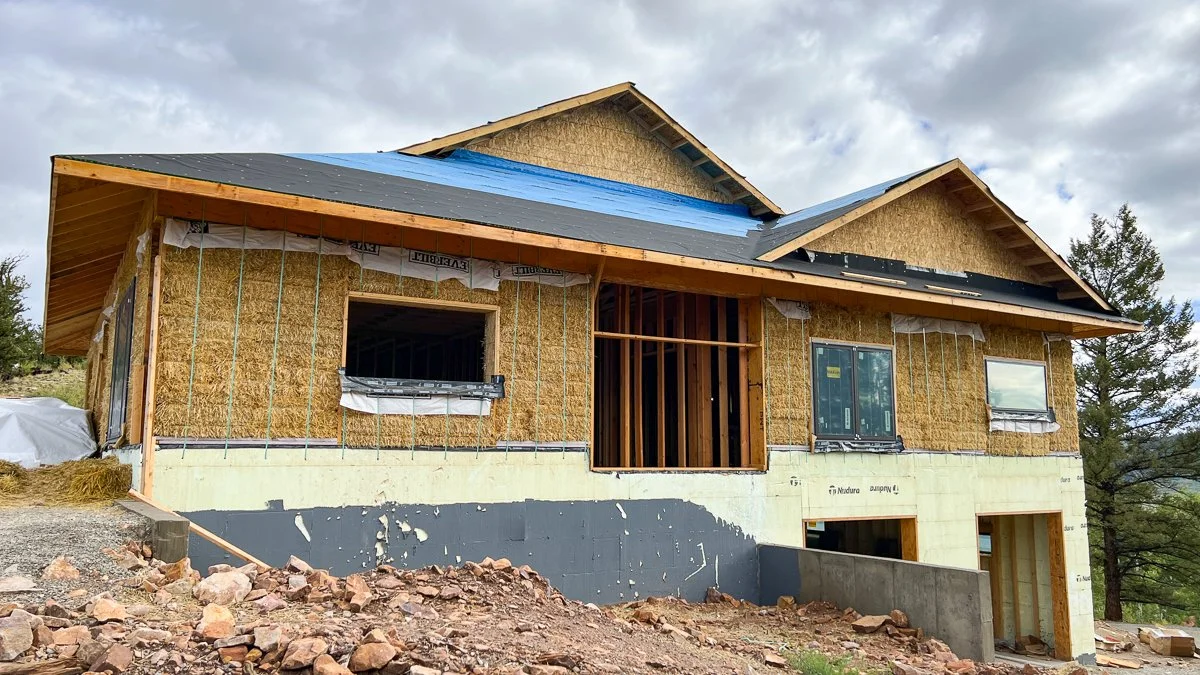
Foundations Set the Rules for Everything Above
Your foundation does more than support the structure. It locks in key decisions that affect every step that follows. See how finished floor height, moisture control, and wall alignment shape the success of your build. These early choices influence durability, efficiency, and how smoothly construction moves forward.

How Much Does It Cost to Build a Straw Bale Home? What Actually Drives the Price
Most people ask for a price when they start thinking about a straw bale home. The truth is, a single number does not help you make a good decision. Cost depends on design, labor, and location.

Cost to Build a Straw Bale Home: Why Costs Feel Confusing
Many people expect straw bale homes to be low cost based on older examples. Today’s building codes, labor, and full project requirements tell a different story. This article explains why the gap exists and how to approach your project with clear expectations.
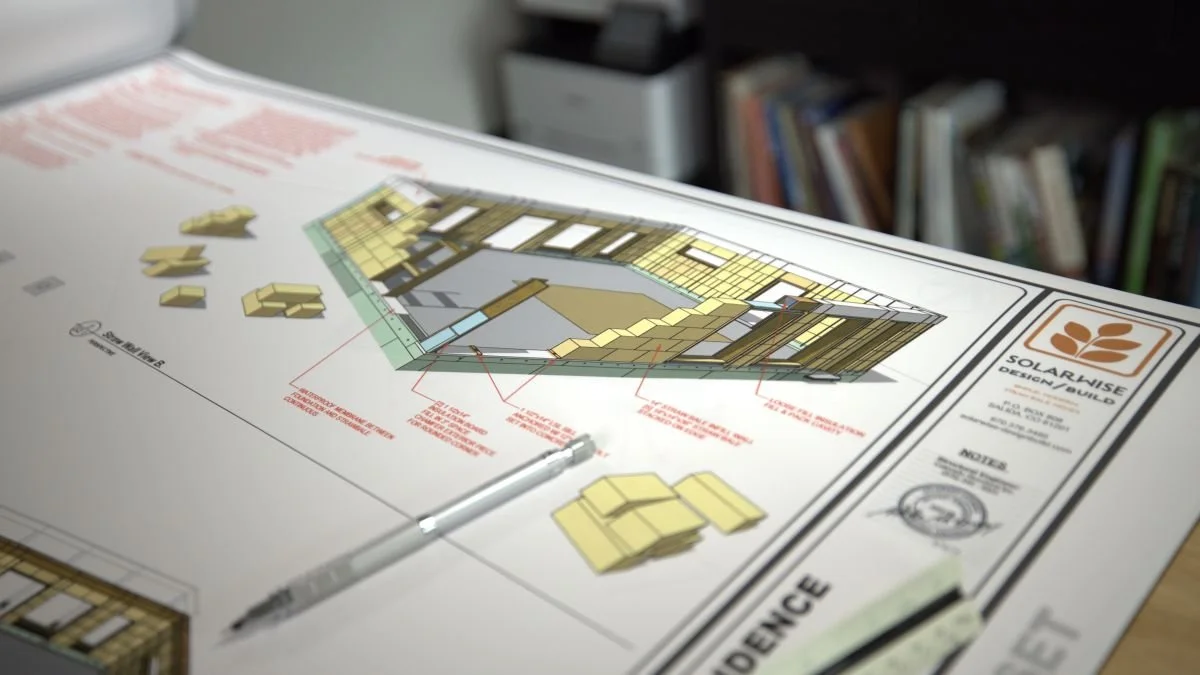
What Level of Design Do You Need for a Straw Bale Home?
Not all straw bale home design services serve the same purpose. Learn the difference between stock plans, plan modification, and custom coordinated design, and what each level typically costs before permitting.
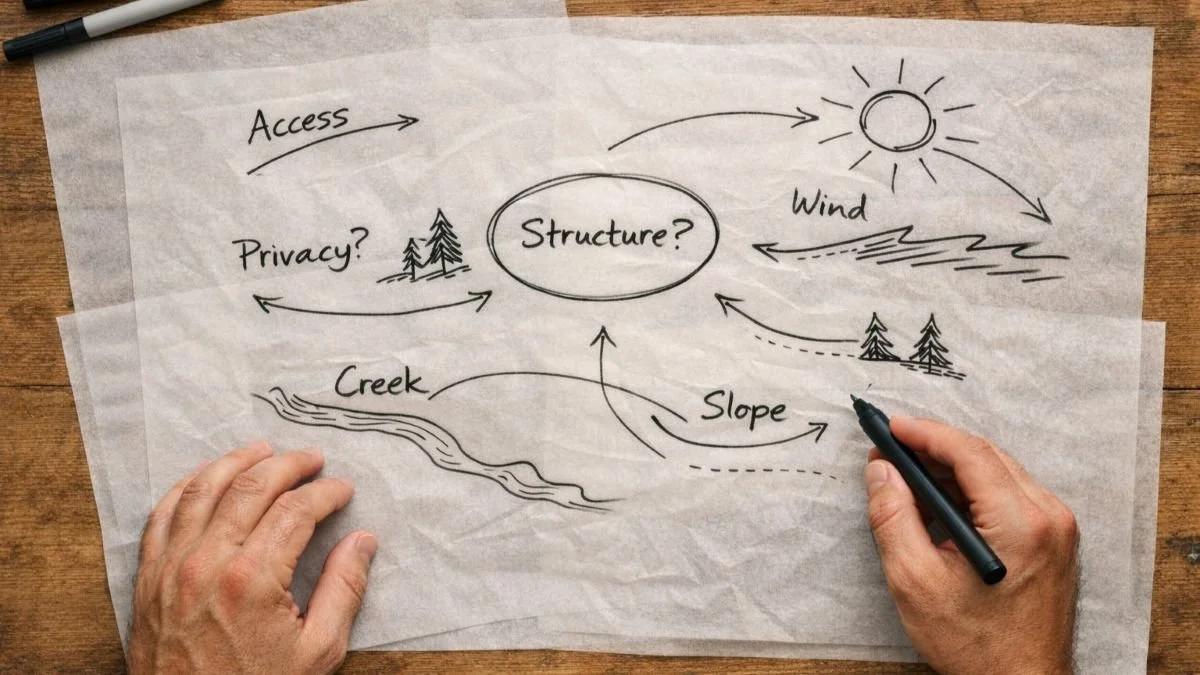
Design Before Drawings in Straw Bale Homes
Good straw bale design starts before drawings. See how early design decisions shape cost, schedule, and build success.
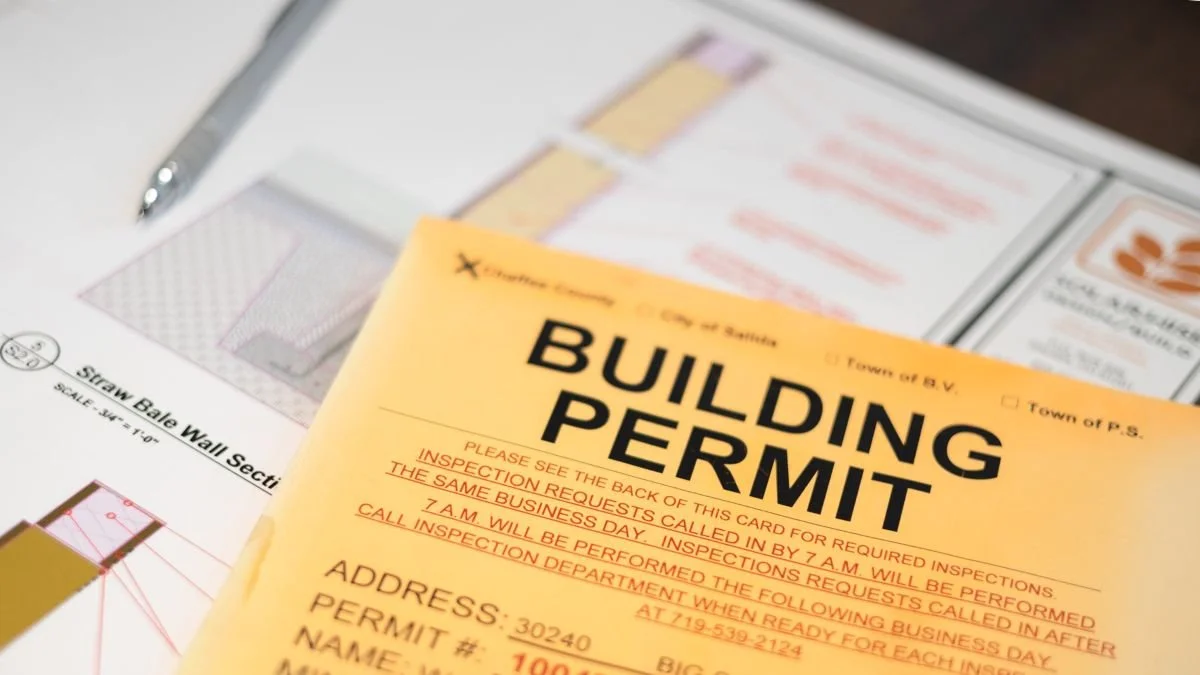
Building Permits for Straw Bale Houses
Keep these simple bullet points in mind when looking for building permit approvals for your straw bale house.
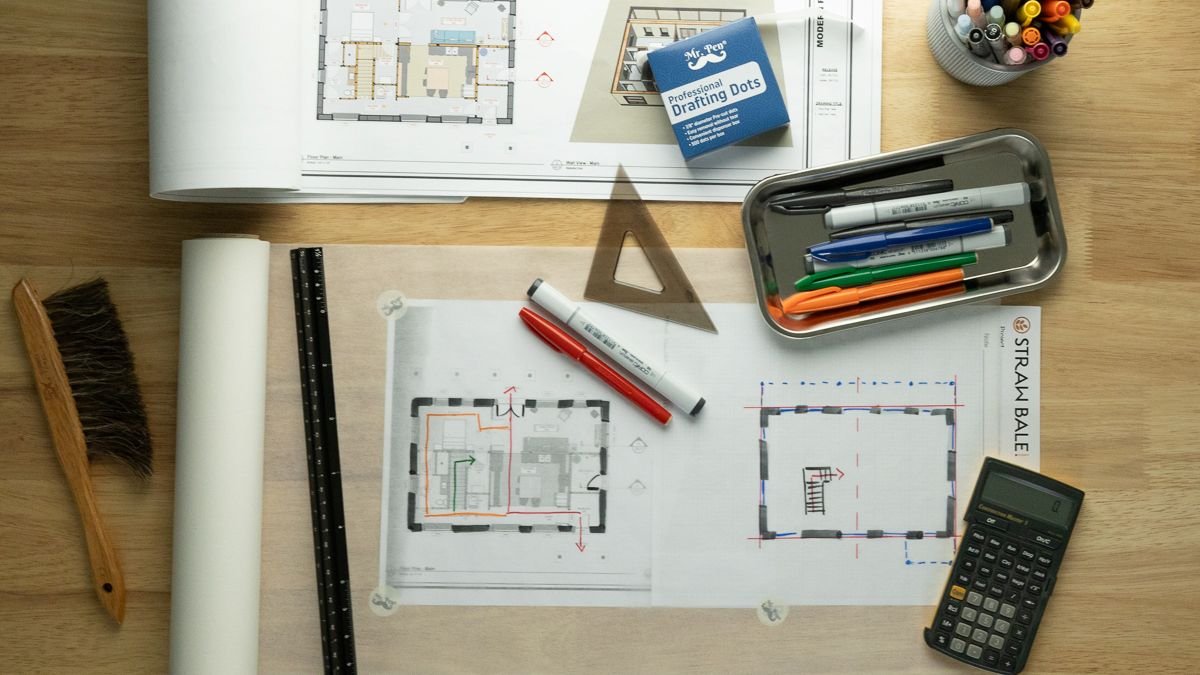
What to Figure Out Before You Break Ground on a Straw Bale Home
Planning a straw bale home starts earlier than most people expect. Learn which decisions to make before construction to avoid delays, rework, and cost surprises.

Financing a Straw Bale Home. What Lenders Look For and How to Prepare
Financing a straw bale home often stalls due to unfamiliarity, not performance. This article explains lender concerns and shows how preparation, language, and structure improve approval outcomes.