Adding Utility Lines After Plaster

Written By Andrew Morrison
June 20, 2018

Adding Utility LinesAdding utility lines to your wall after plaster has been applied to your straw bale house is not as hard as you might think. The sooner you realize your mistake (leaving out the utility line) the easier it is to fix. If you’re wondering what I’m talking about, consider this: You raise the bale walls on your new home, including all the plaster preparations, and then you apply the first coat of plaster to the outside. As you stand back and admire how amazing it looks, maybe even cry a little bit from the joy of really seeing your house come together, you smack your forehead and yell “Crap! I forgot to put a chase in the wall for the gas line!”

I’m sure many of you have had a similar experience in your own builds. If you have a story you want to share and a solution you discovered, please add it to the comments below. In this article, I’ll show you how we handled adding utility lines after plaster was applied at the Chewelah, Washington straw bale workshop. That’s right, WE were the ones telling “CRAP!” this time. Well, not really since we knew how to fix it, but I was glad that the host caught the mistake early. Our plaster was still soft when we discovered the problem. Your imagination will fill in the gaps about how things would be different if the plaster was already hard or even complete.

Identify Locations Before Adding Utility Lines

Adding Utility Lines

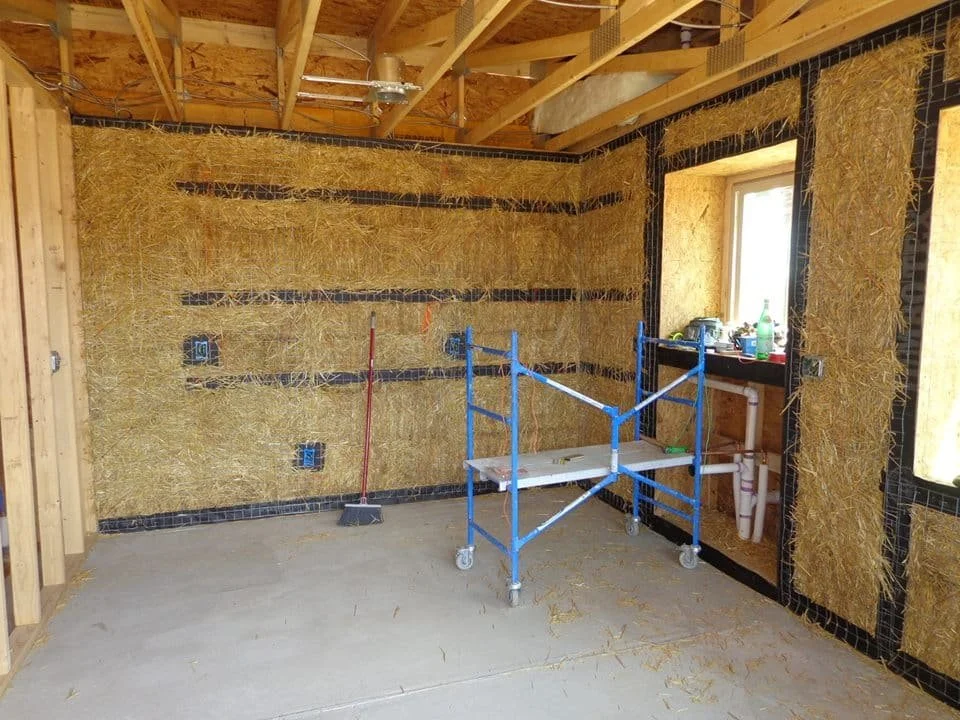
The first step is to figure out exactly where you want the utility line to enter the building. Once you have the general location, i.e. behind the kitchen cabinet, you’ll want to look closer. Check out the bales in that area. Can you see where two bales on one course sit atop or under a solid bale? That location is the easiest place to push a line through because it’s in the space between bales, not inside the bale itself. Even if your stuffing job was spectacular, you still may be able to force a pipe through here with relative ease.

Adding Utility Lines

Be sure to mark the outside as well. I use a straw bale needle pushed through the wall. It’s important that the needle be pushed through the wall straight so that your mark on the outside lines up properly with the desired location inside. Slope the pipe ever so slightly to the exterior so any potential moisture can drain out and away from the house. You may be able to widen the whole enough by wiggling the needle around for smaller pipes. You’ll need to dig a little deeper for larger pipes.

Cutting Away Wire

Adding Utility Lines

You want to make sure you have a safe working distance between your saw and the wire mesh. You can use a hand saw (a hay saw or drywall saw work best) if you prefer, but the blades are limited in length. As such you may opt for a power tool. Either way, cutting the mesh back a bit is essential for ease of access and safety of the worker.

Cutting Away Straw

Adding Utility Lines

The next step is to hollow out the hole with a saw. I prefer to use a reciprocating saw with a long blade on it. The blades are flexible too, which helps to carve out the circle shape I’m looking for. Be sure to watch for any wires or other obstacles that could be a problem. Being that we’re talking about adding a utility line, chances are that there will be other utilities nearby, so pay sharp attention.

Drive it Home

Adding Utility Lines

If you’re lucky, you can slide the pipe right through the new hole and out the other side without disturbing the plaster or having to cut the exterior wire mesh. We weren’t that lucky. We had to cut out some mesh in order to allow the pipe to slope properly. As such, I now had a plaster repair issue to add to the menu. No problem!

You can see the original hole where I removed plaster to gain access to the mesh. On top of that, you can see a new piece of diamond lath (blood lath) that has been pressed to the wall. Note it is tight to the pipe and that it overlaps the existing mesh by 3″ in each direction.

Scratch the Scratch Coat

Adding Utility Lines

Use a blade or trowel corner to scratch the outline of the diamond lath onto the wall.

Remove the Plaster

Adding Utility Lines

If the plaster is still soft, you can cut it with the trowel. A small mason’s trowel does a great job, but you can even use your larger trowels if need be. Remove as much of the plaster as you can inside this space and gently rough up the straw to create more tooth for the plaster.

If the plaster is already hard, you’ll likely need to use a rotary hammer drill with a small chisel blade to remove the plaster. The key is to remove it cleanly from the area in question with limited disturbance elsewhere.

Install the Lath

Adding Utility Lines

Use landscape pins (10″ pins are best) to secure the diamond lath over the mesh. The three inch overlap is key so that the two meshes move as one and eliminate the risk of excessive cracking. I used four pins on this patch. You want the lath to be tight and firm. Secure any loose spots before plastering.

Prepare to Plaster

Adding Utility Lines

Make sure that the wall is ready for plaster. If the original plaster was applied within 24 hours, you can dampen the wall and plaster right away. If the original plaster is in the middle of a cure period, assuming lime plaster, then you’ll need to wait for that to end before adding the new plaster. Either way, be sure the wall is slightly damp so that the plaster will adhere properly.

Throw Some Mud

Adding Utility Lines

Add your new scratch coat to the area to be plastered. You may or may not be able to “feather it in” to the old plaster. That’s okay. Do your best to keep the union smooth, but remember this is a scratch coat. For repairs on finish plaster, there are more steps required to ensure that the wall looks perfect. Mainly, you’ll need to re-apply the finish plaster on the entire wall (or to acceptable stopping points) to hide the patch.

Scratch Away

Adding Utility Lines

Use your scarifier to scratch the new pattern. Horizontal is best.

Tape the Ends

Adding Utility Lines

Be sure to add tape to the ends of the pipe after cutting it to length to keep things clean during the rest of the construction project. Adding utility lines, and even larger chases like the one shown here is a manageable task, even after the plaster is on the wall.

Adding Utility Lines

Same goes for the inside. You can cut the pipes to length at any time after adding utility lines, but leaving things wild gives you some breathing room. Be sure to use a low vibration saw when cutting to length if that process happens after the finish plaster. If the plaster is remotely soft (first 30 days after plastering) the vibrations could cause cracks.

I hope you never need to do this. At the same time, if you do indeed need to, at least you’ll know how. Happy Baling!

Want to learn more about straw bale houses and how to build one? Want to do so for FREE? Sign up for our totally free 16 Day Straw Bale eCourse! Find out more HERE.

IPad displaying man cutting strawbales

16 Essential Steps to Straw Bale Success

FREE 16 Day E-Course

Straw bale workshop participants applying cob plaster

Post Comments

6 Responses

  1. Nice explanation, Andrew. So glad we only had one layer of plaster to deal with. Thank you!

Leave a Reply

Your email address will not be published. Required fields are marked *

This site uses Akismet to reduce spam. Learn how your comment data is processed.