Protecting Your Straw Bale Home from Weather
Why Weather Protection is Essential for a Straw Bale Home
A well-built straw bale home is strong, efficient, and durable—but water is its greatest enemy. Unlike conventional construction, where leaks often go unnoticed until major damage occurs, straw bale structures demand proactive protection from day one.
Fortunately, there are several reliable ways to shield your home from rain, leaks, and humidity. With thoughtful design and smart material choices, you can keep your walls safe and dry—long-term.
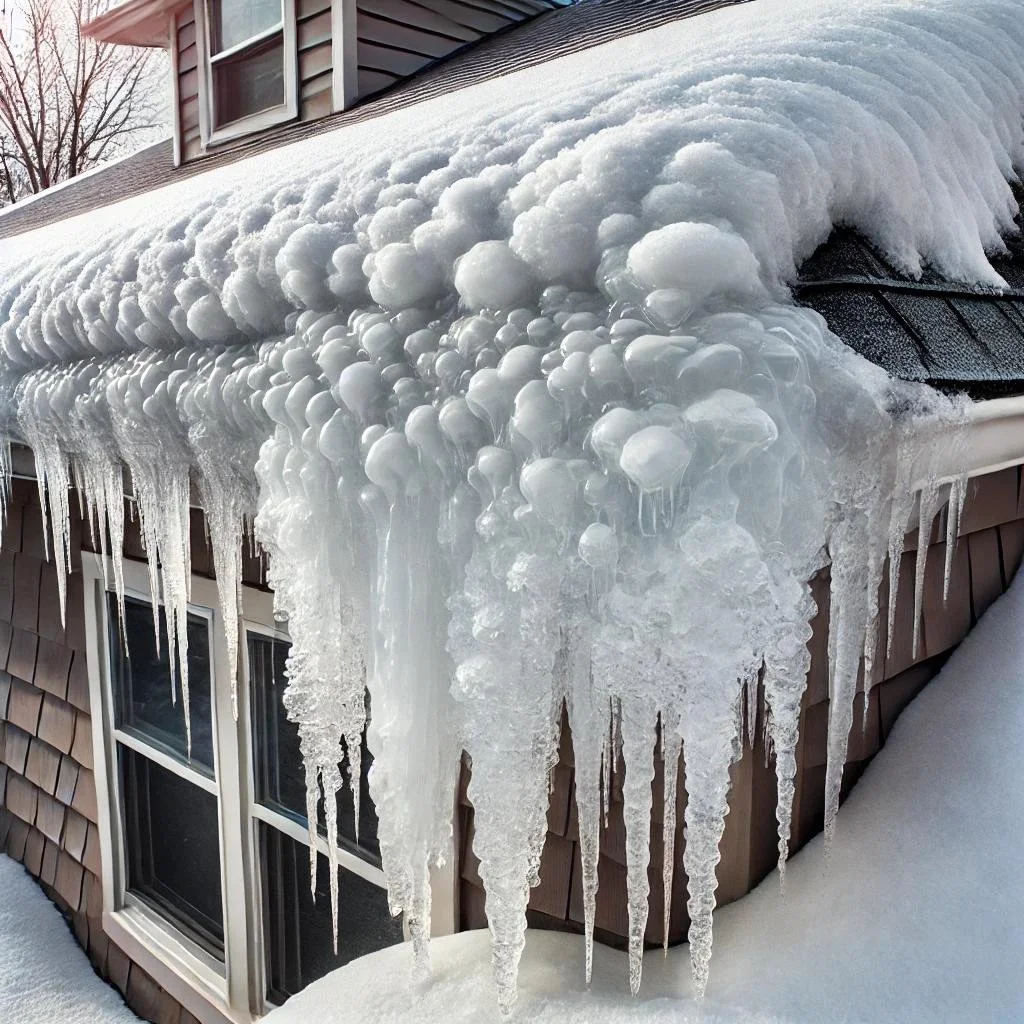
🌧️ Dealing With Rain: Overhangs & Gutters
Rain is the most obvious (and most manageable) threat. The end goal is simple: keep water off your walls. Here's how:
✅ Use large overhangs
At least 2 feet wide is ideal (this may vary depending on your region and passive solar design)
They direct rain away from bale walls and reduce splashback
✅ Install gutters
Capture runoff from the roof
Prevent erosion and pooling at the base
Bonus: collect rainwater for reuse!
✅ Add intermediate rooflines
On multi-story homes, protect lower walls from upper-level runoff
Without them, second-story roofs may leave lower stories exposed
🌬️ Note: In areas with high wind-driven or horizontal rain, added protection may be required. Consider additional shielding or a different wall strategy in those climates.
🚱 Plumbing Leaks: Keep Water Out of the Bales

water-isolation-wall
This one is a critical best practice, so let’s say it loud:
KEEP ALL PLUMBING OUT OF THE BALE WALLS.
When water pipes leak, they can saturate the surrounding insulation. In a straw bale wall, this leads to serious damage fast.
✅ Smart strategies:
Keep plumbing on interior framed walls whenever possible
Use “water isolation walls” for sinks or fixtures on exterior walls
Build out a framed stud wall in front of the bales and insulate separately
Use 4x4 toe-ups (3½" or higher) to prevent water from wicking up into the wall from flooring leaks
🪟 Flashing Windows Properly

Andrew Morrison window corner detail
Windows are notorious leak points—especially in natural buildings where plaster and framing converge.
Proper flashing takes extra effort, but it’s worth every minute.
✅ Best practices:
Install counterflashing before the window goes in
Flash the sill and vertical legs first
Seal head flashing last, after window install
Use a small bead of silicone caulk at corners for extra peace of mind
Even the tiniest gap can channel water into your bales—flash it like your walls depend on it. (Because they do.)
💧 What About Humidity?
Unlike rain or plumbing leaks, humidity is trickier—you can’t keep it out, and you can’t always see its effects.
If the moisture content inside the bales exceeds 20%, mold and rot become real risks. And once the damage starts, it’s hard to stop.
✅ How to manage humidity:
Avoid straw bale homes in tropical or persistently humid climates
Choose breathable plasters (like lime or clay) that allow walls to dry
Consider installing humidity sensors or moisture meters inside your wall system
If you’re on the edge (climate-wise), test with a small structure before committing to a full build
If your climate includes long, hot, dry seasons, that may be enough to dry out the walls between humid spells. Know your site before you build.
Summary: Key Tips to Protect Your Straw Bale Home

window flashing on straw bale wall
Design with water in mind: Roofs, overhangs, and flashing matter
Keep plumbing out of bale walls: Frame it separately and insulate smart
Avoid high-humidity zones: Or test carefully before committing
Flash windows with precision: Counterflashing + silicone = peace of mind
Use breathable materials: Let walls dry out naturally after exposure
Ready to Build a Resilient Straw Bale Home?
Learn the full system—from foundations to plastering to weatherproofing.
👷♀️ Attend a hands-on workshop to build new skills and meet others building their own strawbale house
Updated: August 8, 2025