How NOT to Plaster a Straw Bale House - Avoiding Cold Joints
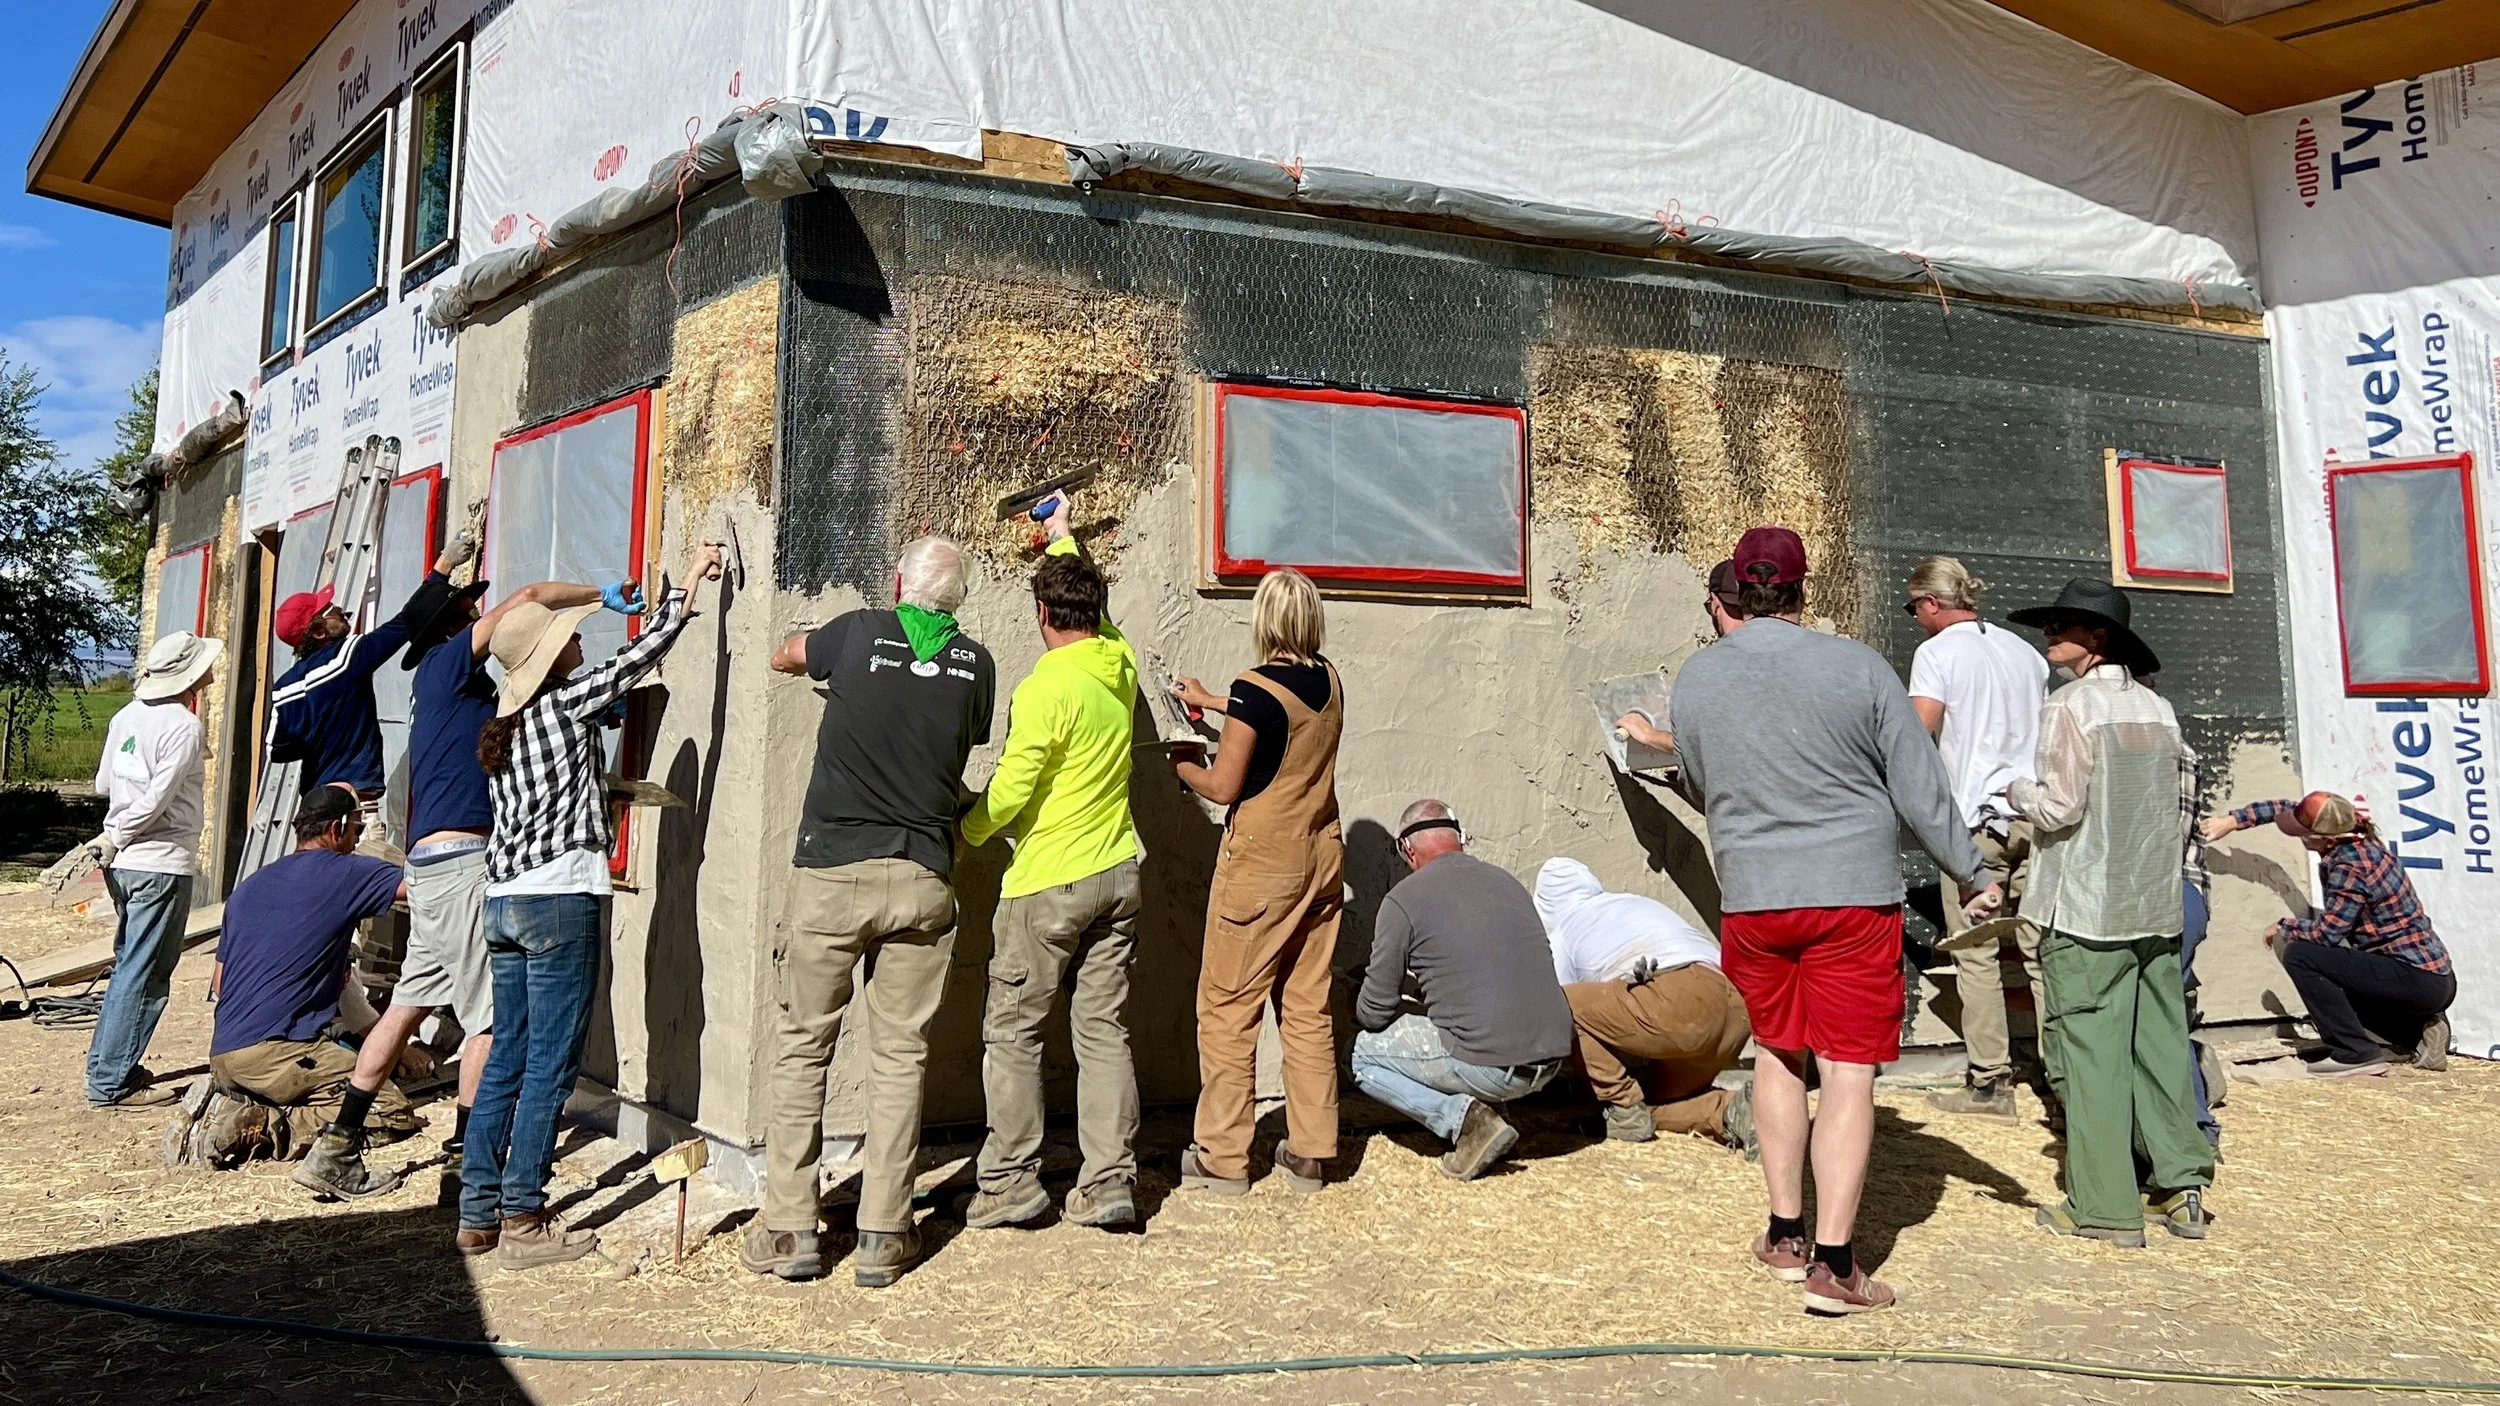
Plastering a freshly built straw bale house wall at a 7-day Straw Bale Construction workshop in Colorado.
Plastering a Straw Bale House? Don’t Let This Common Mistake Ruin the Finish
Plastering is one of the most exciting—and most visible—parts of building a straw bale house. It’s when your structure starts to feel like a finished home. The walls come alive with texture, shape, and personality.
But here’s the thing: plaster is permanent. What you see is what you (and your guests) will see for the life of your home. And there’s one mistake that can haunt your finish if you’re not careful: cold joints.
❄️ What Are Cold Joints and Why Should You Care?
A cold joint forms when wet plaster meets plaster that’s already drying. The bond between the two layers is weak, leading to:
Visible lines in your finished wall
Structural inconsistencies
Cracks over time (especially in finish coats)
In some cases—like the scratch coat—it’s not the end of the world. But the fewer cold joints you have, the better your plaster will perform and look.

The Real-World Example: What Went Wrong Here?
In the image above (from a real build), multiple plasterers were working on different sections of the wall. Then they took a lunch break, leaving exposed wet edges across the entire surface.
By the time they returned, those edges had started to dry, setting up for cold joints when fresh plaster was applied. It’s a common mistake—but totally avoidable.
✅ How to Avoid Cold Joints When Plastering a Straw Bale House
1. Work in Teams and Stay Close
Whether you're going from top-down or bottom-up, the key is to overlap wet edges. Each person should stay near their neighbor, maintaining a continuous wet-to-wet connection.
2. Stagger Your Stop Lines
If you must take a break:
Stop in a straight, clean line
Change the stop location with each coat
For example:Scratch coat break: 1' from the ceiling
Brown coat break: 2.5' from the ceiling
Finish coat break: 4' from the ceiling
This avoids having all three coats crack in the same place.
3. Plan Your Breaks Wisely
If you need to pause, finish the current section or wall area completely before stopping. That way, you minimize the number of joints and keep them easy to blend in later.
Remember: Plaster is Your Straw Bale House's Skin
It protects your bales. It defines your interior and exterior aesthetic. It tells the story of your craftsmanship. Taking the extra time to avoid cold joints is more than a technical detail—it’s about honoring the home you’re creating.
Learn to Plaster
If you're serious about learning how to plaster the right way, come build with us.
Join us at a hands-on workshop and gain the skills to build your own straw bale house with confidence.
Or if you can’t wait until a workshop, check out our consulting options to keep your project moving forward.

People plastering a straw bale house
If you're interested in really learning how to build with bales and you want to have perhaps one of the best weeks of your life in the process, then come to one of our workshops. We ALWAYS have a good time, and you will gain the confidence to build your own house, too.
Workshop locations and dates vary and are announced each November for the upcoming year. See what we have coming up or jump on a waitlist!
Updated: October 3, 2025