Common Straw Bale Installation Mistakes That Make Wall Prep Harder
Getting straw bales into the wall is one of the most satisfying stages of a straw bale build.
For weeks or months, the project may feel like framing, foundation, layout, details, and decisions. Then the bales show up. The walls get thick. The rooms feel different. The building starts to look and feel like a straw bale home.
That part is fun. It is also easy to get pulled into the excitement of watching the wall fill up.
But a good bale wall is not judged by how fast the wall fills up. It is judged by how well it sets up the next layer of work and ultimately how it performs.
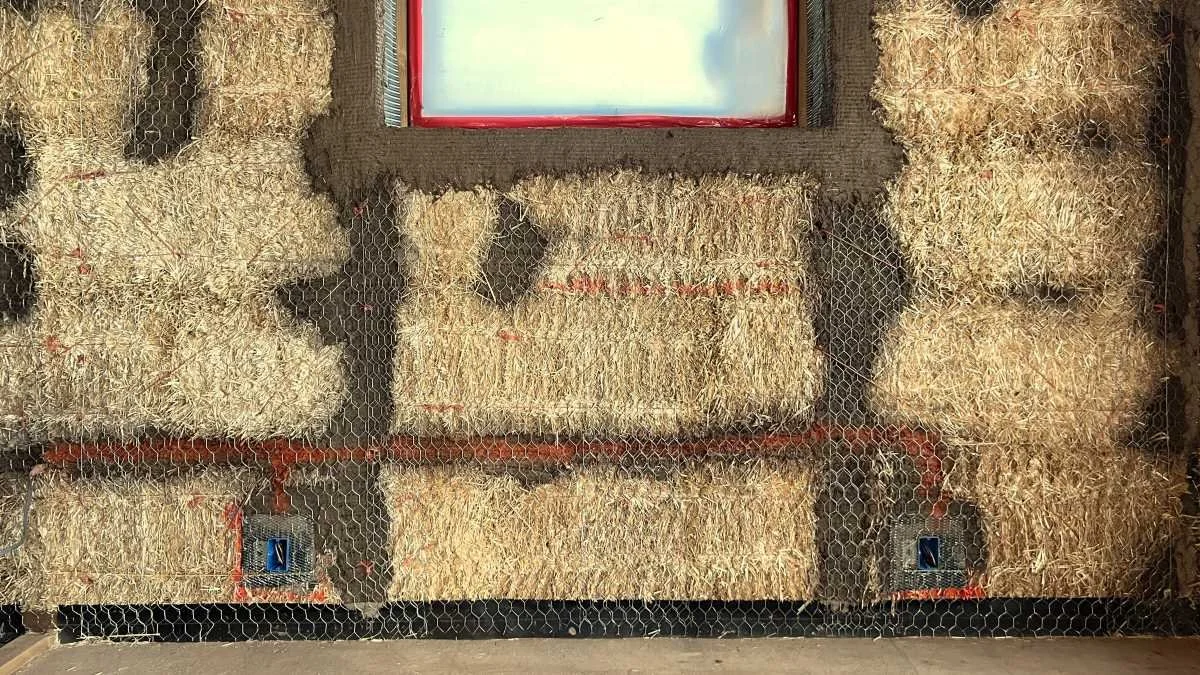
Bale installation is not the final surface. It is not even the step right before plaster. Between bale installation and plaster, there is wall prep, also called plaster prep. This is where metal lath and mesh might be installed, plaster stops are placed, corners and edges are shaped, and holes or gaps are filled with bundled straw, light-straw clay, cob, or another appropriate material.
A good bale installation makes that next stage easier. A poor bale installation turns wall prep into repair work.
The Goal Is a Tight, Stable, Workable Wall
Good bale work does not mean the wall looks perfect. Straw bale walls are not drywall. They have texture, softness, and variation. Some of that is part of the beauty of the finished wall.
The goal is different.
You want a wall that is tight, stable, full, and workable. The bales should fit well into the wall system. They should support each other. They should not leave large voids around framing, corners, or openings. The face of the wall should be even enough to prepare for plaster without excessive correction.
That level of quality does not happen by accident. It happens because the crew keeps paying attention as the wall goes up.
Mistake 1: Treating Bales Like Blocks
Straw bales look simple. They are rectangular, stackable, and familiar. From a distance, it seems like they should go into the wall like big building blocks.
On-site, bales tell a different story.
Some are dense and more square. Some are soft. Some are banana-shaped. Some have tight strings. Some barely hold their shape. Some fit well in one place and fight you in another.
Good bale installation means paying attention to the bale in your hands. Some bales go straight into the wall. Some need to be reshaped. Some need to be re-tied. Some need to be trimmed, notched, or saved for a better location.
This is one of the first lessons people learn in a workshop. The material is simple, but the work still asks for judgment.
The mistake is trying to force every bale into the wall the same way. Good bale work responds to what is happening in front of you.
Mistake 2: Letting Small Gaps Slide
Gaps are easy to forgive when the wall is going up.
The bales are bulky. The crew is moving. Everyone wants to see progress. A small gap near a post, a corner, or a window buck does not seem like a big deal in the moment.
But gaps do not disappear. They show up again during wall prep.
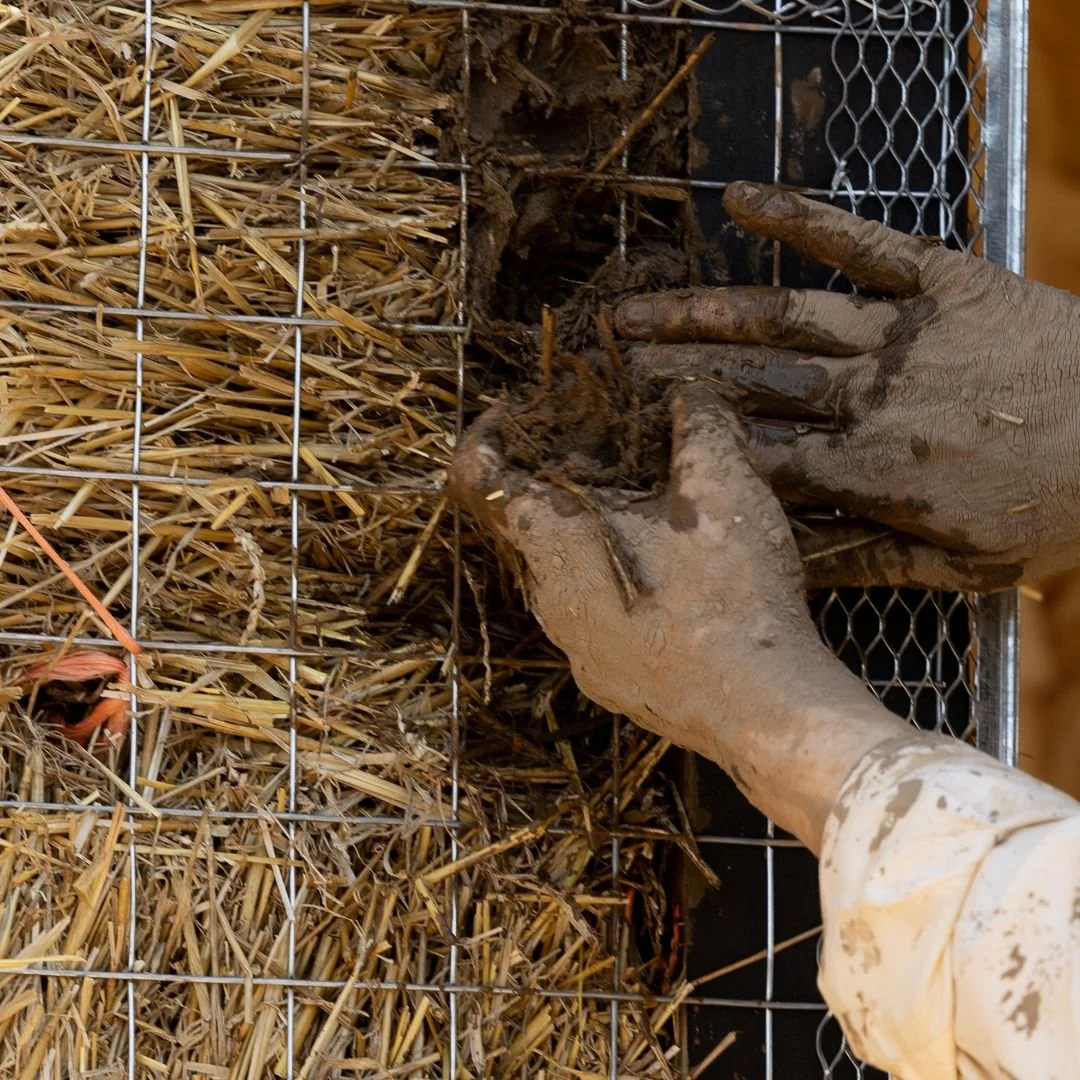
Loose areas around framing, bucks, corners, and short sections often take extra time later. Sometimes they need bundled straw. Sometimes light-straw clay or cob is the better choice. Sometimes the area needs to be pinned, tied, or shaped so the wall has support behind the plaster prep.
The point is not to stuff every space with random loose straw and hope for the best. The point is to notice weak areas while the wall is still being built.
A good bale wall feels full. It has contact. It has resistance. It does not feel spongy or unsupported.
Mistake 3: Ignoring the Wall Plane
This is one of the places where speed catches up with people.
A crew can fill a wall with straw and still create a lot of extra work. If the wall face has deep recesses, pronounced bulges, or uneven transitions, someone will have to deal with them later.
Wall prep is where this becomes obvious. Mesh and lath do not sit well over a poorly shaped wall. Plaster stops are harder to place. Openings take more time to clean up. The plaster crew ends up using more material and labor to correct issues that should have been addressed earlier.
The wall does not need to be flat in a rigid, manufactured way. But it does need to be reasonable.
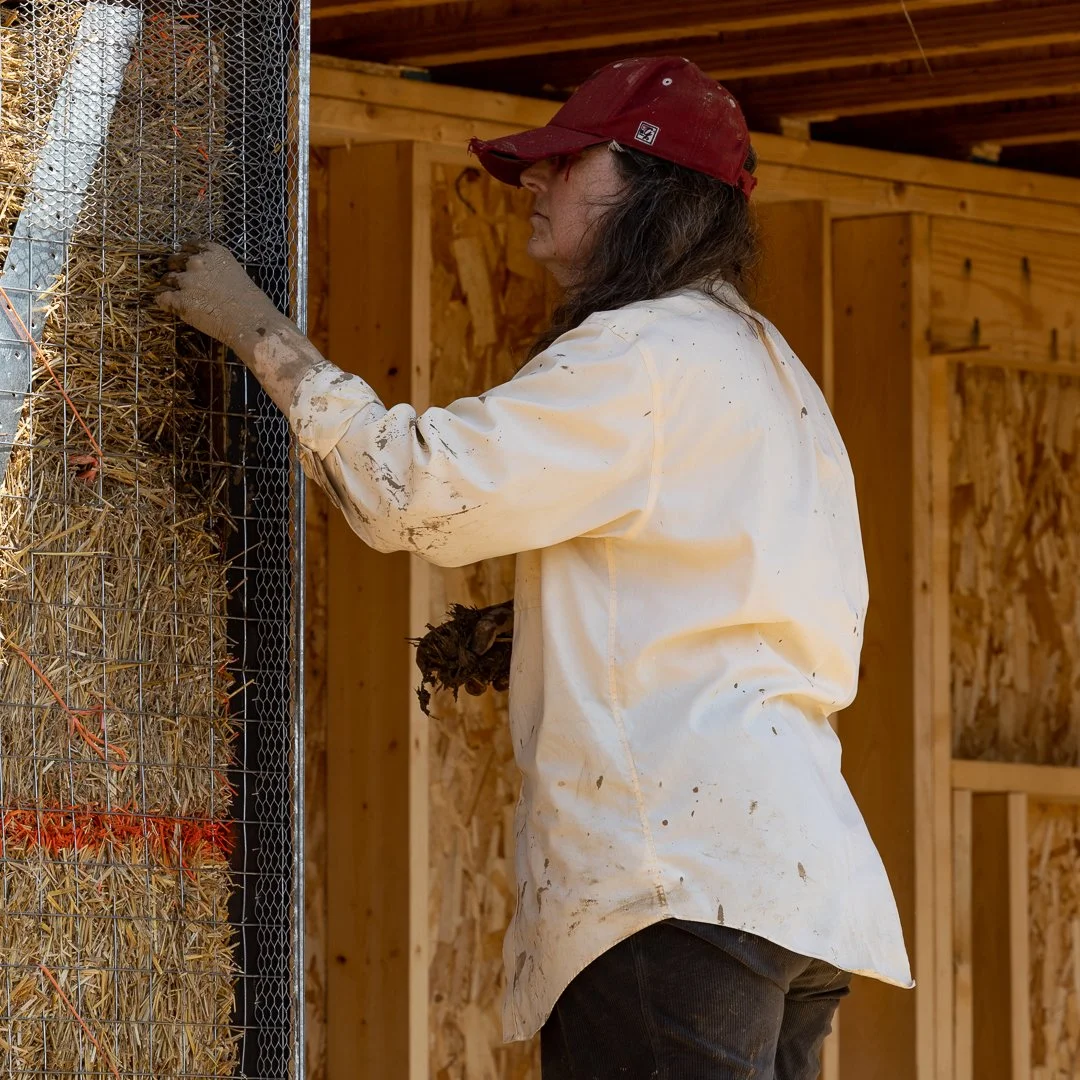
Step back often. Sight down the wall. Look at the corners. Look at the face of the bales compared to posts, bucks, and framing. Make adjustments while the bales are still accessible.
It is much easier to correct the wall during installation than after the entire wall has been pinned, meshed, and is ready for plaster prep.
Mistake 4: Rushing Openings and Corners
Long wall sections often build confidence. The crew finds a rhythm. Bales move. The wall fills in. Progress is visible.
Corners and openings are different.
Windows, doors, and short wall sections slow things down, and that is fine. These areas often require more cutting, fitting, tying, pinning, and shaping. They also tend to be more visible in the finished home.
A rough, long wall section might be easy to blend into the plaster later. A rough window return is harder to hide. A poorly shaped corner draws the eye. A weak short section near an opening often needs more attention during wall prep.
This is where I like to see the crew slow down. Not because the work needs to be fussy, but because these areas affect the next steps.
Good bale installation gives openings enough care. It gives corners enough structure. It gives short sections enough support.
Mistake 5: Forgetting Wall Prep Comes Before Plaster
People often talk about bale installation and plaster as if one follows right after the other.
On a real project, there is an important stage in between.
After the bales are installed, the wall still needs to be prepared. Depending on the wall system, this might include metal lath, welded wire mesh, plaster stops, corner reinforcement, trimming, sewing, pinning, stuffing, and shaping.
This is also where some of the final wall character begins to form. Openings might be softened. Edges might be defined. Holes get filled. Odd transitions get cleaned up. The wall starts to look ready for plaster.
Bale installation should support this work. It should not make plaster prep harder than necessary.
When the bales are tight, even, and well-fitted, wall prep becomes focused. When the bales are loose, uneven, or poorly shaped, wall prep becomes a long list of corrections.
A good bale wall makes the next crew grateful, even when that next crew is still you.
Good Installation Carries Forward
Straw bale construction is forgiving. That is part of what makes it approachable for owner-builders and workshop participants.
But forgiving does not mean being careless.
The work done during bale installation carries over into every stage that follows. It affects wall prep. It affects plaster thickness. It affects labor. It affects the finished look and feel of the home.
For owner-builders, this is worth remembering when the crew gets tired and the wall is almost full. The last few bales matter. The small gaps matter. The awkward corners matter.
For designers, this is worth remembering before construction ever starts. Details on paper affect how cleanly bale work is done in the field. The wall system, openings, and framing layout all influence how much effort the crew will need during installation.
For workshop participants, hands-on experience is especially valuable. You start to feel the difference between a bale that fits well and one that needs work. You learn when to trim, when to stuff, when to reshape, and when to slow down.
Good straw bale installation is not about making the wall perfect. It is about making the wall ready.
Ready for wall prep. Ready for plaster. Ready to become the wall system it was designed to be.
If you're interested in really learning how to build with bales and you want to have perhaps one of the best weeks of your life in the process, then come to one of our workshops. We ALWAYS have a good time, and you will gain the confidence to build your own house, too.
Workshop locations and dates vary and are announced each November for the upcoming year. See what we have coming up or jump on a waitlist!