The Finish Coat: Texture, Color, and the Final Plaster Surface
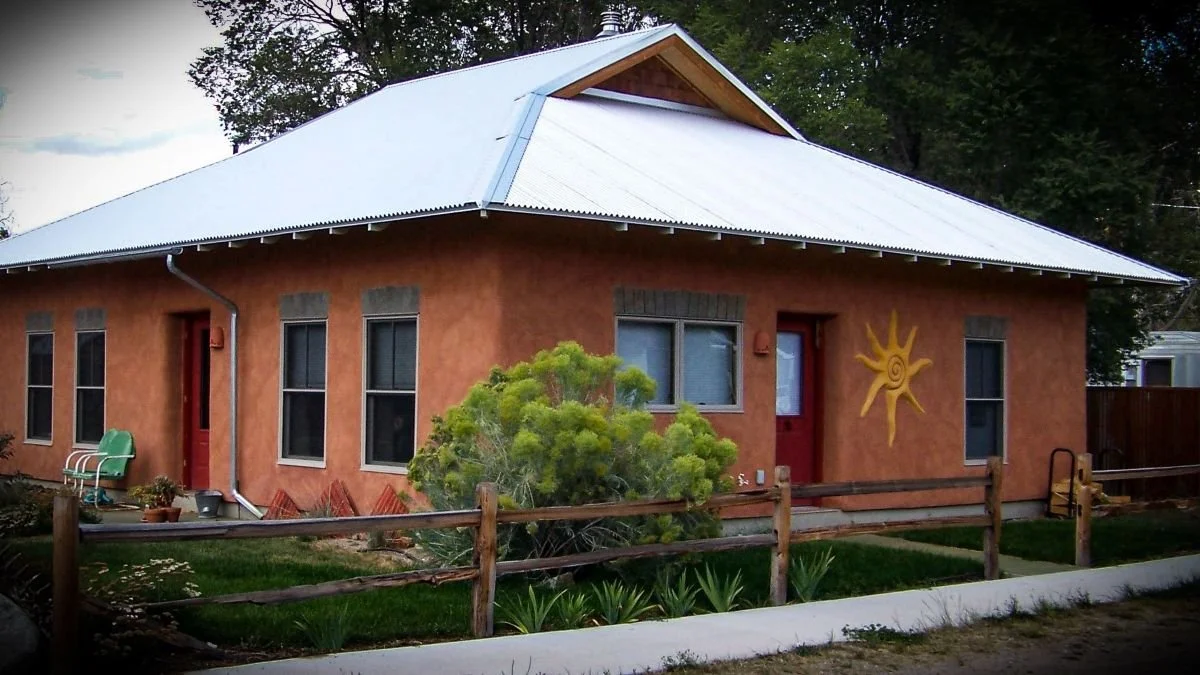
The finish coat is where all the earlier plaster work finally becomes visible.
Once the scratch coat has bonded the plaster to the straw wall and the brown coat has shaped the surface, the final layer goes on. This is the finish coat.
The finish coat is thinner than the coats below it, but it strongly influences how the completed wall looks and feels. This is where texture, color, and the final surface come together.
By this point, the major shaping should already be complete. The finish coat isn't for straightening walls, filling deep depressions, or correcting major irregularities. Those jobs belong to the brown coat.
The goal now is refinement.
What the Finish Coat Is Doing
The finish coat provides the final plaster surface.
On the exterior, it adds another layer of weather protection while creating the building's finished appearance. On the interior, it establishes the texture, color, and feel of the rooms.
The material you choose matters, but so does how you work it.
The same plaster can look quite different depending on whether you trowel it smooth, float it to a softer texture, leave it with more movement, or finish it with a wash or paint.
This is one reason I enjoy the finish coat. It offers more room for personal preference than the base coats.
Exterior Finish Coats
Exterior plaster needs to do more than look good.
It protects the wall from the weather while still allowing the straw bale assembly to dry when moisture enters the wall.
For that reason, I tend to stay with vapor-permeable mineral finishes.
Lime
Lime is my preferred exterior finish for most straw bale projects.
A lime finish coat provides a durable, breathable surface and works naturally over lime base coats. Depending on the plaster system, the finish might be a site-mixed lime plaster or a premixed product designed specifically as a finish coat.
The aggregate is typically finer than what you would use in the scratch or brown coat. That finer sand lets you create a tighter, more refined surface.
Clay
Clay plaster is also an option, although exterior use requires more care.
Clay performs beautifully in protected locations, but wind-driven rain and repeated wetting warrant serious consideration. Roof overhangs, wall orientation, climate, and the specific clay plaster system all matter.
In many climates, I am more comfortable using clay on interiors and reserving lime for exposed exterior walls.
Exterior Texture
Your finishing technique strongly influences the final appearance.
A troweled finish can create a tighter, smoother surface. Depending on how much you work the plaster, this might range from lightly refined to quite polished.
A floated finish tends to have a softer, more open texture. The aggregate stays more visible, and the wall often retains more of the natural character people associate with straw bale construction.
Neither approach is inherently better.
The choice depends on the look you want, the plaster you are using, and how much of the wall's natural irregularity you want to keep.
Washes and Paints
A finish coat does not always need to provide the final color.
Limewash and other compatible mineral finishes give you another option. They can add color while maintaining the plaster assembly's vapor permeability.
This is where material compatibility matters.
A conventional acrylic or elastomeric paint can significantly reduce the drying potential of a vapor-permeable plaster wall. If you are applying a coating over lime or clay plaster, make sure it’s compatible with the plaster system and the wall assembly.
Exterior Color
Color can come from the plaster itself or from a later wash or mineral coating.
Integral pigments are mixed directly into the finish plaster. This puts color throughout the coat rather than only on the surface.
Natural sand also affects the finished appearance more than many people expect. Sand color, aggregate size, lime, pigment, and finishing technique all work together.
Samples are worth the effort.
A small sample board lets you see the actual color and texture before committing to an entire house. I would much rather adjust a sample than realize halfway through a wall that the finish is not what you expected.

Interior Finish Coats
Interior walls give you a broader range of plaster choices because they aren’t exposed to exterior weather.
Lime, clay, and gypsum all have a place, depending on the room, appearance, and wall assembly.
Lime
Lime plaster works well on interiors and creates a durable mineral surface.
It is a good choice when you want continuity between exterior and interior plaster systems or prefer the look and feel of lime.
Lime finishes range from fairly rustic to smooth and refined depending on the material and application technique.
Clay
Clay is one of my favorite interior plaster materials.
It is easy to work, easy to repair, and available in a broad range of natural colors and textures. Clay also suits the softer shapes and curves common in straw bale homes.
Because clay does not need to withstand exterior weather, interior applications give you much more freedom with the material.
Gypsum
Gypsum plaster is another interior option.
It works well when you want a more conventional smooth plaster appearance and a harder interior surface. It can also make sense where straw bale walls transition into framed interior partitions finished with drywall or gypsum plaster.
As with any finish material, consider how the layers in the wall assembly work together rather than the finish coat in isolation.
Interior Texture
The same basic finishing choices apply inside.
A trowel can create a tighter and smoother finish.
A float leaves more texture and often works well when you want to keep some movement in the wall.
You can also combine techniques. You might float a wall first and then lightly trowel it, creating a surface somewhere between rustic and smooth.
This is where mockups really help.
A description like "smooth" or "lightly textured" means different things to different people. A small sample gives everyone something real to look at before you commit to an entire room.
Washes and Paints
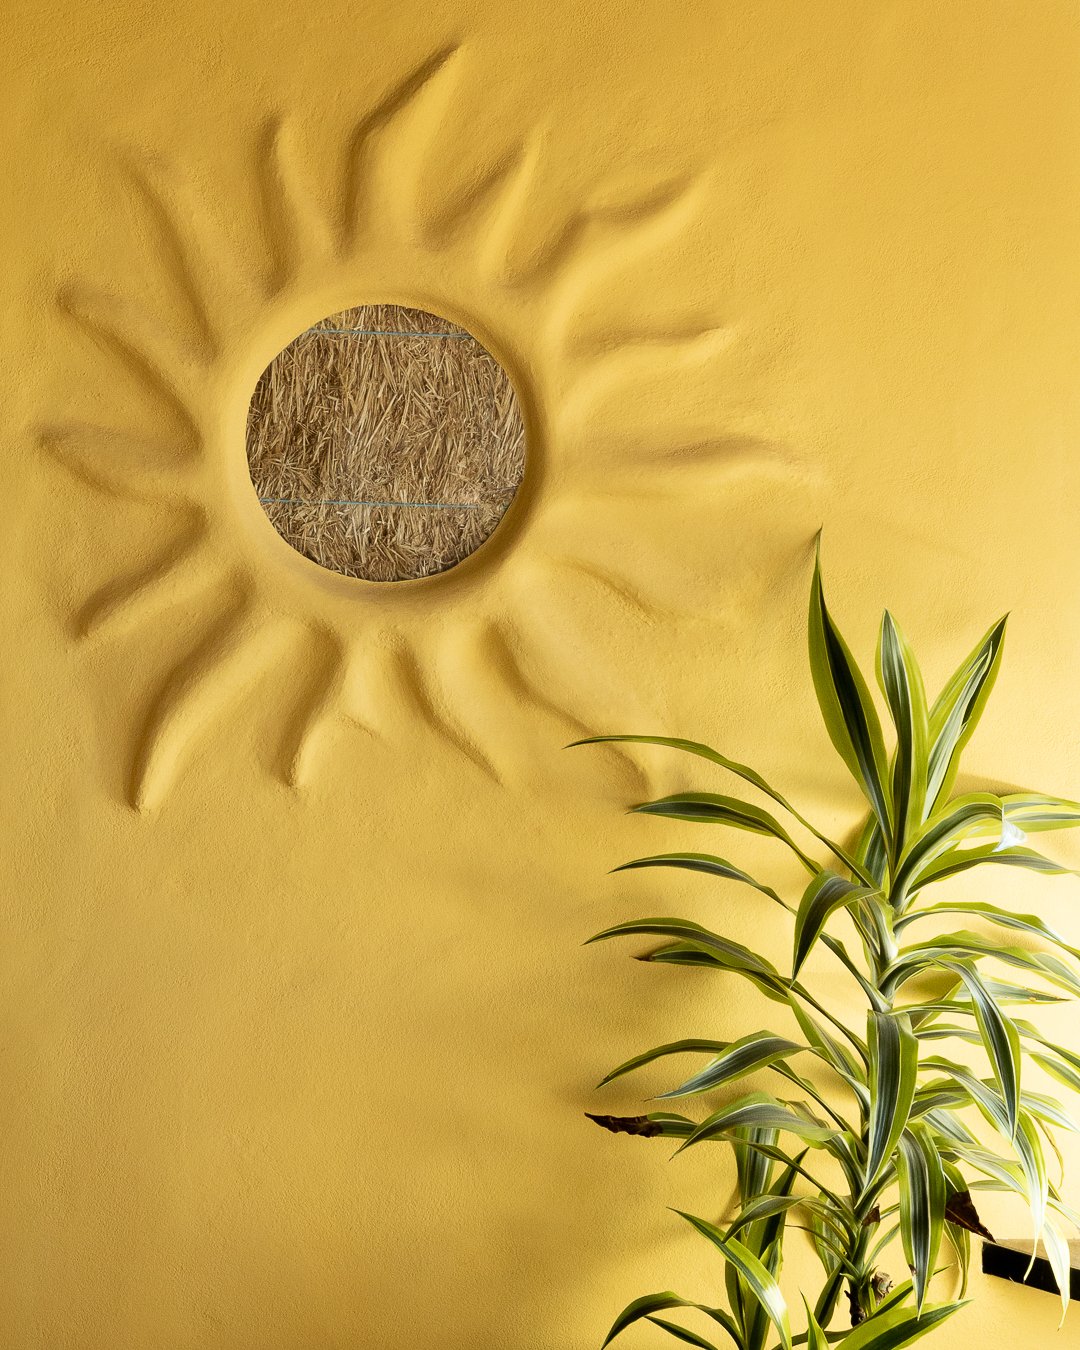
Interior limewash, clay paint, mineral paint, and other compatible coatings offer another way to adjust color and appearance.
Sometimes the plaster itself provides exactly the finish you want. Other times, a wash or paint gives you more flexibility now and makes future color changes easier.
The important part is maintaining compatibility with the plaster below.
Interior Color
Color can completely change how a plaster wall feels.
Light colors tend to emphasize shadow and texture. Darker colors can make the variation in a hand-applied surface more noticeable.
Natural pigments often create subtle variation across the wall, especially as the plaster dries and cures.
That variation is part of the material.
If you want a perfectly uniform painted surface, a natural plaster finish may require a different approach than if you appreciate some movement in color and texture.
Make Samples
Of the three plaster coats, I most strongly recommend making samples of the finish coat.
Mix the actual plaster you intend to use. Use the actual sand, pigment, and finishing tools. Let the sample fully dry before deciding.
Wet plaster often looks dramatically different from cured plaster.
If you are comparing colors, make several samples. If you are comparing textures, try different floats and trowels. Label everything.
Spending a little time making samples is much easier than changing your mind once you've finished several hundred square feet of wall.
The Final Layer
The scratch coat creates the bond.
The brown coat builds and shapes the wall.
The finish coat brings the surface to life.
By this point, most of the heavy plaster work is behind you. Now the decisions become more visual. Material, aggregate, texture, color, and finishing technique all influence the final result.
No single finish is correct for a straw bale wall.
A smooth lime exterior, a softly floated clay interior, a mineral wash, or a more textured hand-troweled surface can all work beautifully when the material fits the wall assembly and the conditions.
That is one of the things I appreciate most about plaster.
The wall does not need to look manufactured. It can still show the hand that made it.
And with the finish coat complete, the three-part plaster system finally comes together.
Want to build confidence with plaster before tackling your own walls? Join us for a hands-on workshop. You will work directly with the materials and techniques used throughout the plastering process and learn by doing.