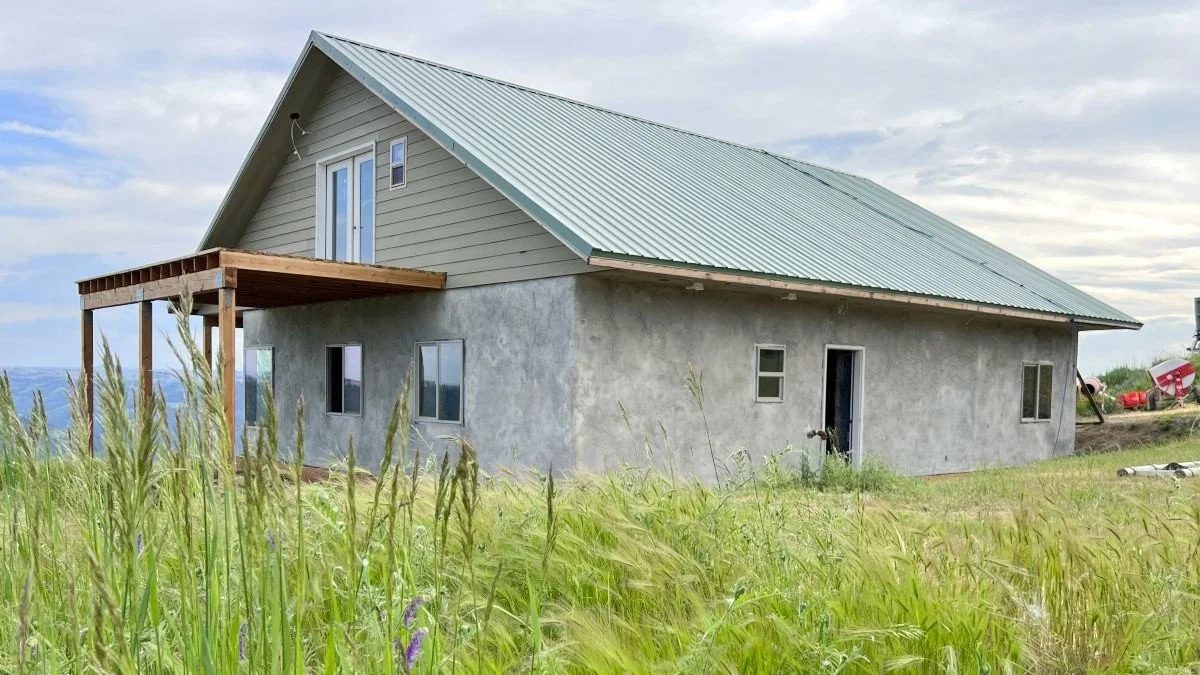
The Brown Coat: Shaping the Straw Bale Wall
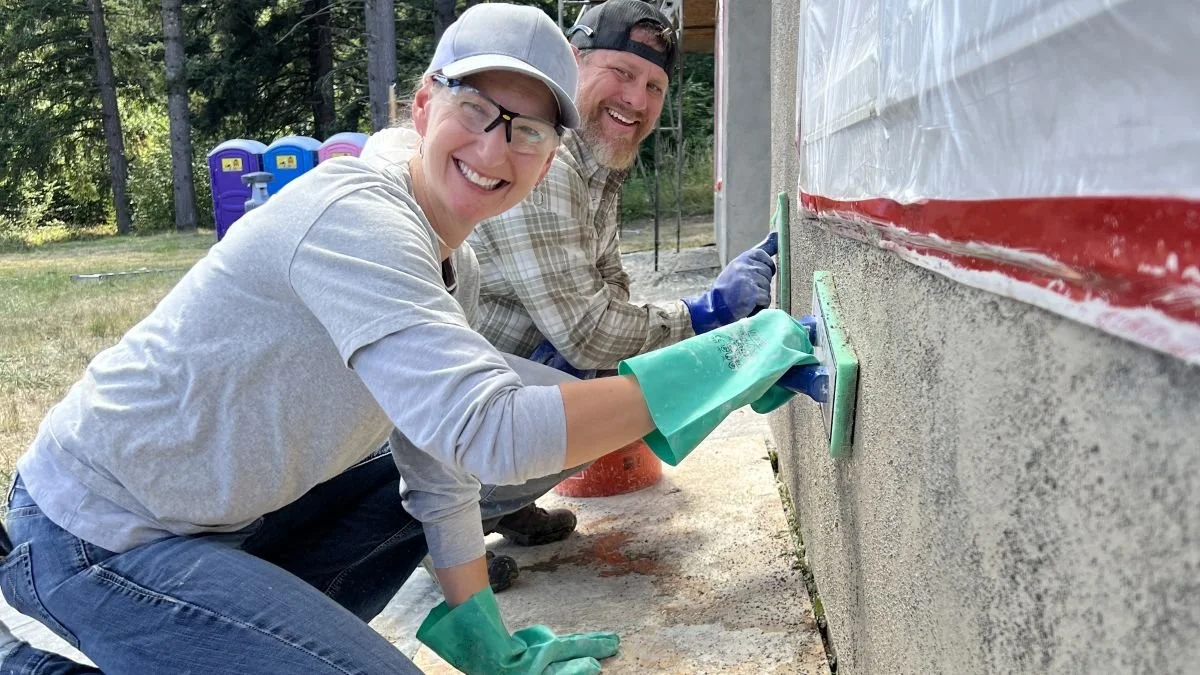
Once the scratch coat has cured and created a solid bond with the straw wall, the next layer of plaster goes on. This second layer is the brown coat.
If the scratch coat is about getting plaster firmly attached to the wall, the brown coat is about building and shaping the wall. It is often called the leveling or build-out coat because this is where you fill low spots, soften irregularities, refine curves, and establish the wall surface that will eventually receive the finish coat.
For many people who have attended one of our 7-day hands-on workshops, this is where the next unfamiliar step begins. Our 7-day workshops typically take the walls through the scratch coat, so the brown coat follows directly from the plastering skills participants have already learned.
What the Brown Coat Is Doing
Straw bale walls have character. Even after careful straightening, trimming, stuffing, and a good scratch coat, the surface will still have highs, lows, curves, and irregularities.
The brown coat is where you start working those shapes into the wall you want.
That does not necessarily mean making everything perfectly flat. Depending on the design, you may want a relatively straight wall, some of the natural undulation of the bales, or softer curves around windows, doors, niches, and corners.
Most of that shaping needs to happen now. The finish coat that follows is relatively thin, so you do not want to rely on it to fix the wall plane later.
Building Out the Wall
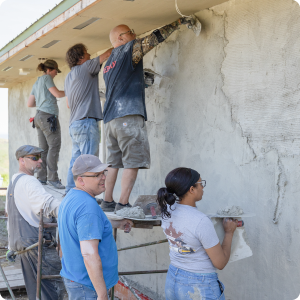
The amount of plaster needed will vary across the wall.
Some areas may need little more than a consistent coat over the scratch. Other areas will need more material to fill depressions or bring transitions into plane. If you have a particularly deep area, approach it thoughtfully rather than trying to fill everything with one heavy application.
The plaster mix often changes at this stage too. With site-mixed hydraulic lime plaster, I typically increase the amount of sand compared with the scratch coat. A scratch coat might be mixed at one and a half parts sand to one part lime, while the brown coat might move toward two parts sand to one part lime.
Those ratios are not universal. Your lime, sand, wall conditions, and plaster system all matter.
Adding more aggregate gives the brown coat body and also helps control shrinkage as the thicker plaster cures.
Managing Cracks
Some cracking in base coats is common, especially when you apply a relatively thick layer of plaster. The goal is to control the shrinkage and reduce excessive cracking.
Fiber is one option. Adding an appropriate fiber to the plaster helps reinforce the coat throughout the mix.
Another option is embedding fiberglass reinforcing mesh into the brown coat. The mesh is worked into the wet plaster, so it becomes part of the coat, rather than simply sitting on top of the surface.
Both approaches help with crack control.
Of course, reinforcement is only part of the equation. Your plaster mix, thickness, substrate, curing conditions, and application all matter too. Fiber or mesh will not make up for poor plastering practices, but both are useful tools.
Floating the Brown Coat
Floating is a big part of the brown coat.
Once the plaster starts to firm up, you work the surface with a float. This compresses the plaster while helping you knock down high spots, fill small imperfections, and shape the wall.
The timing is important.
Get on the wall too early, and you will push the plaster around, pull material off, and create more work for yourself. Wait too long and the plaster becomes difficult to move.
There is a sweet spot where the plaster is firm enough to hold its shape but still workable under the float. Learning to recognize that point is much easier once you have spent some time working with the material.
Choosing a Float
There are several tools you might use to float a brown coat, and each feels a little different on the wall.
A wood float is a traditional choice and works well for shaping the plaster while leaving a fairly open surface.
A sponge float provides a softer touch and works well as the plaster firms up.
A tile sponge is my favorite. It conforms easily to the irregular shapes of straw bale walls, which makes it especially useful for working curves, undulations, and transitions without fighting the surface.
A neoprene float is another good choice. It has more give than a wood float and also works well on curved and irregular surfaces.
You do not need to pick one tool and use it for everything. I often move between floats depending on what the plaster is doing and what I am trying to accomplish on that particular section of wall.
The tool matters, but understanding what the plaster needs matters more.
Compression Matters
Floating is about more than making the wall look better.
Working the plaster with a float compresses and consolidates the surface. It closes small voids and creates a more consistent coat.
This is one of my favorite parts of the brown coat process. You start with a wall covered in fresh plaster and slowly begin to see the final shape emerge.
You find a high spot and work it down. You notice a low area that needs attention. A window return gets cleaned up. A curve starts to flow into the surrounding wall.
This is where the wall starts to take its final form.
Preparing for the Finish Coat
The brown coat is still a base coat. You are not trying to create the finished appearance yet.
You are setting up the finish coat for success.
By the time the brown coat is complete, the wall should have the shape you want and a consistent surface ready to receive the final layer. Any major corrections should already be behind you.
The finish coat will bring the final texture and often the color, but it is not the place to straighten or substantially reshape the wall.
Curing and Drying
Like the scratch coat, the brown coat needs appropriate curing conditions.
With hydraulic lime plaster, direct sun, heat, wind, and low humidity can pull moisture from the plaster too quickly. Depending on the conditions, you may need to protect the wall with shade, misting, or both.
The thickness of the brown coat will also vary across the wall, especially where you have filled deeper areas. As a result, some areas will cure more slowly than others.
Give the plaster the conditions and time it needs before moving on to the finish coat.
A Brown Coat Workshop Fills the Gap
Our brown coat workshops have always had strong participation from people who previously attended a 7-day workshop, and I think there is a pretty straightforward reason for that.
It is the next unfamiliar step.
During a 7-day hands-on workshop, we take participants through bale installation, wall preparation, and the scratch coat. They leave with hands-on experience in those parts of the process. The brown coat is what comes next.
Few workshops focus specifically on brown coat plastering.
For alumni, a brown coat workshop picks up where the 7-day workshop left off. We get to focus on building out the wall, embedding reinforcement, floating, shaping, and learning to read the plaster as it firms up.
There is less emphasis on starting from scratch and more time spent developing the next set of skills.
So Why Is It Called the Brown Coat?
The scratch coat has a pretty obvious name. You scratch it.
The brown coat is not quite as interesting.
The name comes from traditional plastering, where the second, coarser coat often had a brown appearance. Brown sand and other naturally colored materials used in the plaster distinguished it from the lighter finish coat.
So, after all of that, the explanation is pretty simple. It was brown.
Construction terminology does not always have a great story behind it.
The next and final step in this three-part plaster series is the finish coat, where the focus shifts from building and shaping the wall to its final texture, color, and appearance.