The Scratch Coat: Building the Foundation for Straw Bale Plaster
Once your straw bale walls are straightened, trimmed, filled, meshed, and ready for plaster, the first coat goes on. This first layer is the scratch coat.
The scratch coat does more than cover the straw. Its primary job is to create a strong bond between the wall and the rest of the plaster system. A good scratch coat works into the surface of the straw, ties into mesh and lath where needed, and creates a solid base for the coats that follow.
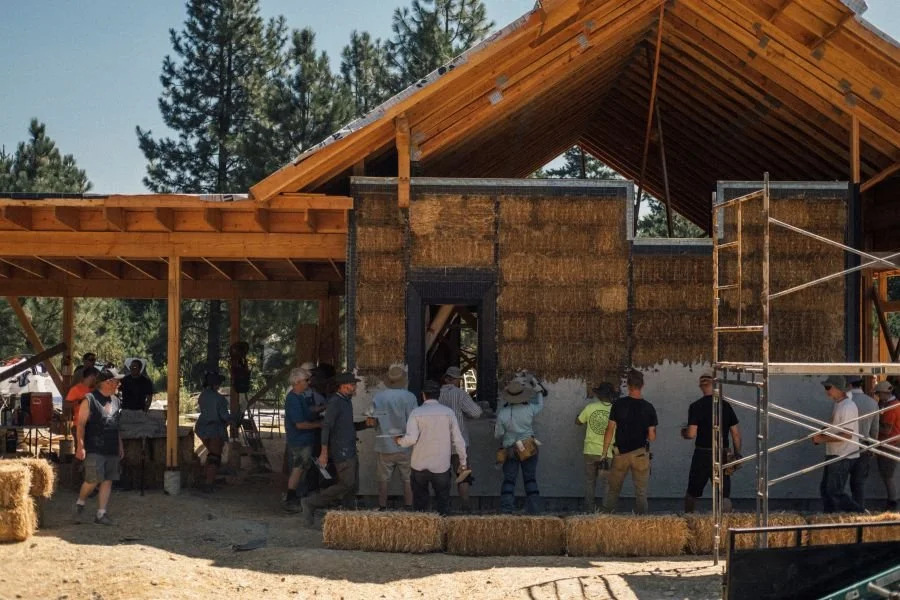
For those who have attended one of our 7-day hands-on workshops, this part of the process will feel familiar. The scratch coat is one of the main plastering steps we work through together, from mixing and moving plaster to applying it directly to the straw wall.
What the Scratch Coat Is Doing
On a straw bale wall, the plaster system becomes part of the wall assembly. The scratch coat is where that connection begins.
You are not simply spreading plaster over the surface. You want to work the plaster into the straw so the material grabs the wall. Around framing, windows, doors, corners, and other transitions, the scratch coat also embeds mesh or lath and helps tie different materials together.
This is one reason good wall preparation matters so much. Large voids, loose straw, uneven wall planes, exposed wood, and poorly installed mesh all become harder to deal with once plastering starts.
If the wall is ready, the scratch coat goes much more smoothly.
Applying the Scratch Coat
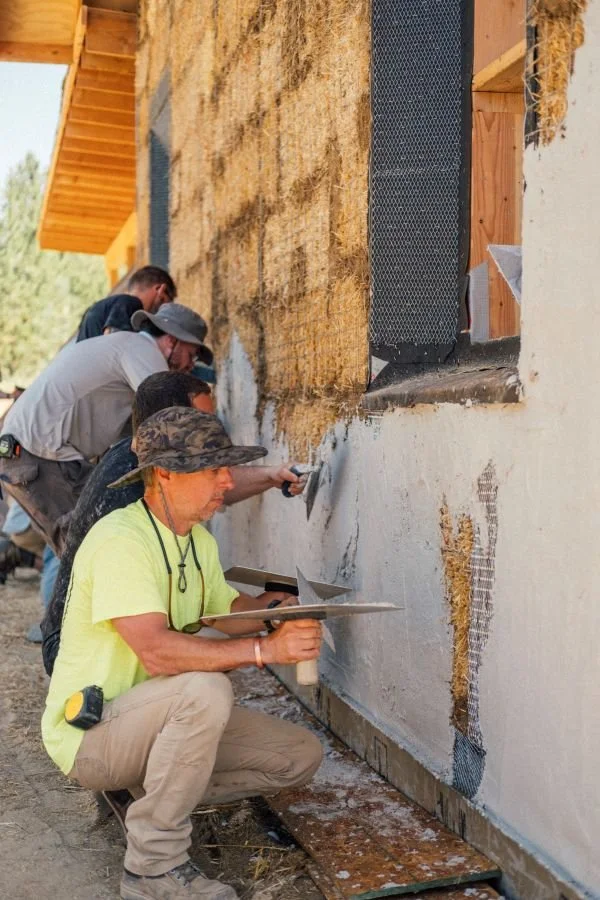
The exact plaster mix and application method will vary depending on the material you are using. For most of our straw bale projects, I prefer hydraulic lime plaster, either Natural Hydraulic Lime, or NHL, or Earthaus Plaster’s PHL system, especially for exterior walls. Earthen plaster is another common choice, particularly on interiors.
Regardless of the material, the goal is similar.
The plaster needs to be pressed firmly into the straw rather than lightly skimmed across the surface. You want good contact with the wall, solid coverage, and enough material to create a continuous first coat.
This is physical work. You are moving a lot of material, often across a large wall area. A well-organized plaster station, good access around the building, and an efficient crew make a noticeable difference.
Thickness matters too. The scratch coat should be substantial enough to create a solid base without becoming unnecessarily thick. The wall does not need to look finished at this stage. In fact, it should not.
Leave It Rough
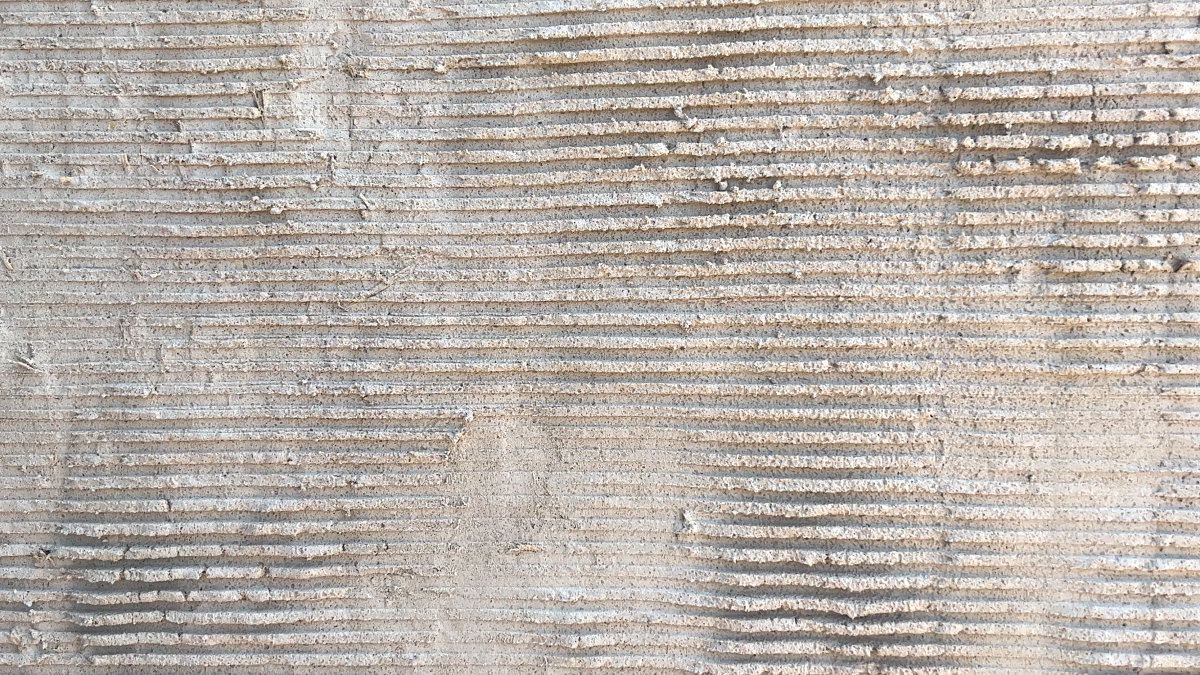
The name scratch coat comes from the texture left on the surface.
Before the plaster becomes too hard, the surface is scratched or keyed so the next coat has something to grab onto. The goal is not a smooth wall. You want grooves and texture across the surface.
This roughness creates a mechanical bond for the brown coat.
One of the most common mistakes at this stage is spending too much time trying to make the scratch coat look good. Save that energy for later. Your main goals are good contact, complete coverage, proper thickness, and a well-keyed surface.
Pay Attention to Transitions
Windows, doors, corners, exposed framing, electrical boxes, plaster stops, and changes in material deserve extra attention.
These areas often involve mesh, lath, roofing felt, or other wall preparation details. Make sure the plaster fully engages these materials and does not leave gaps behind them.
Transitions are also common places for cracking to develop later, so good preparation before plastering is worth the effort.
Curing and Drying
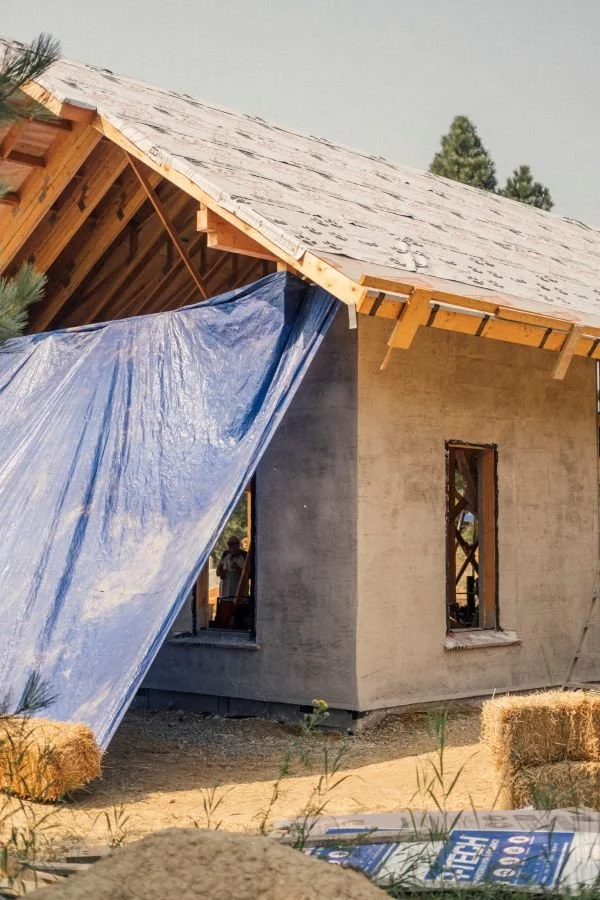
Once the scratch coat is applied, give it time to cure properly before moving on.
With hydraulic lime plaster, curing conditions matter. Hot sun, wind, and dry weather can pull moisture out too quickly. Depending on the conditions, the wall may need protection, misting, or shading to slow the drying process.
You want the plaster to cure, not simply dry as fast as possible.
Cold weather creates a different concern. Hydraulic lime plaster needs enough time above freezing to cure properly. This is one reason plaster schedules deserve attention late in the building season.
Before moving on to the brown coat, the scratch coat should be firm, well bonded, and ready to receive another layer.
What a Good Scratch Coat Looks Like
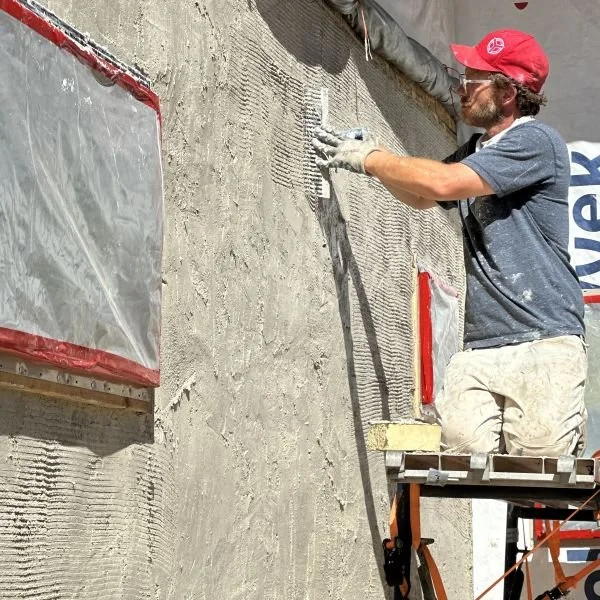
A finished scratch coat will not look polished.
It should look complete.
You should see continuous plaster coverage across the straw, solid transitions around openings and framing, and a rough surface ready for the next coat. Small irregularities are fine. The brown coat is where you start shaping and refining the wall plane.
Think of the scratch coat as the structural beginning of the plaster system. If you get this layer right, the rest of the plaster work becomes easier.
Learning It by Doing It
The scratch coat is one of those parts of straw bale construction that makes much more sense once you have done it yourself.
That is why we include plastering as part of our 7-day hands-on straw bale workshops. Participants get direct experience mixing plaster, moving material, applying it to the wall, and learning what good coverage and good bond feel like.
You can read about plastering, watch videos, and study wall sections, but working on a real straw bale wall gives you a much clearer understanding of the process.
The next step is the brown coat, where the focus shifts from bonding the plaster to shaping and straightening the wall.