Setting Up a Plaster Station for Straw Bale Construction
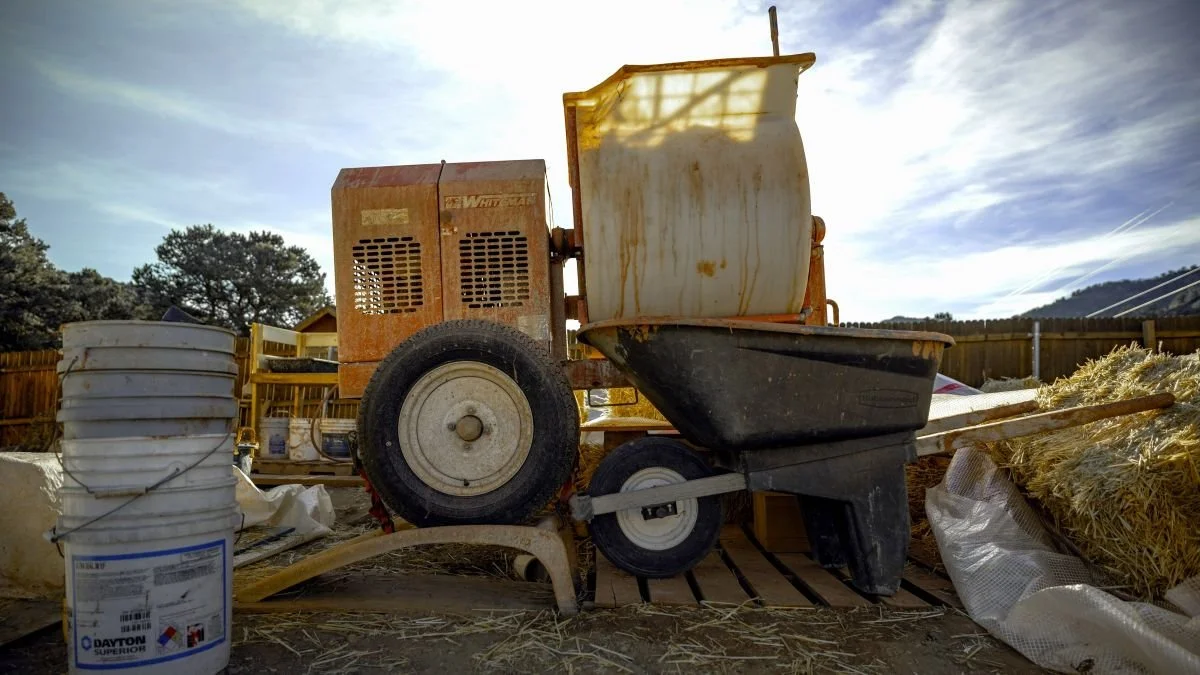
One of the first things I did as a general contractor when I stepped onto an empty building site was decide where the plaster station would go.
Long before plastering started, I wanted to know where the mixer, sand, bagged materials, water, wheelbarrows, and cleanup area would live. That decision affected material deliveries, site access, drainage, and how plaster would move through the project.
There are plenty of ways to set up a plaster station. This is the setup I prefer for larger plaster jobs and workshops.
The goal is simple. Handle the material as little as possible and make each batch easy to mix, dump, move, and clean up after.
Start With Ergonomics
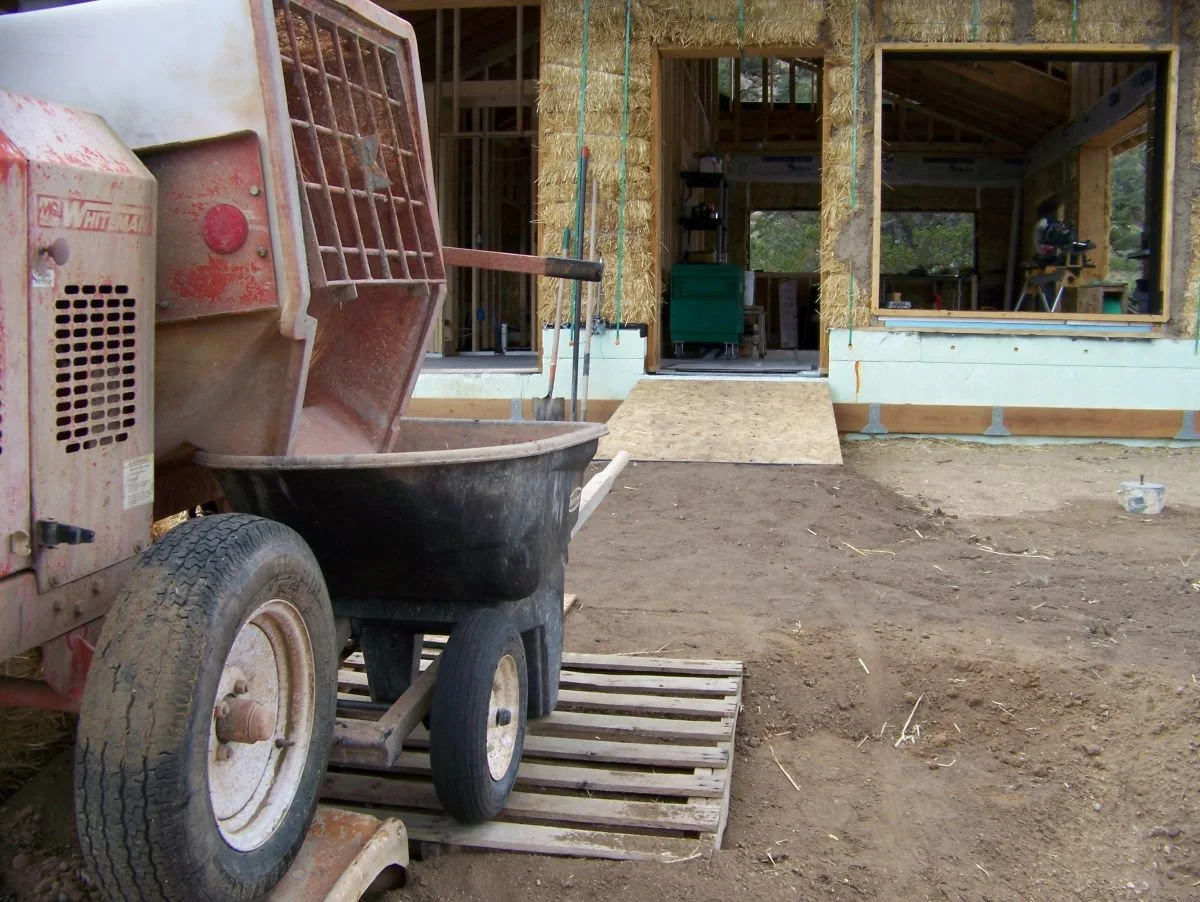
Before setting the mixer in place, think about where the plaster needs to go.
If the site allows, locate the mixing station slightly uphill from the building or plastering area. A wheelbarrow full of plaster is heavy. Pushing one downhill or across level ground is much easier than pushing one uphill all day.
Keep the station reasonably close to the work without putting it where it interferes with scaffolding, foot traffic, or other construction.
If plaster needs to move into the building, ramps over thresholds or steps make a big difference.
My basic rule is to handle the material as little as possible. Sand moves to the mixer. Bagged material moves to the mixer. Mixed plaster moves into the wheelbarrow and then to the wall.
Every extra lift, trip, or transfer adds work.
Choosing the Mixer
Several types of mixers are used for plaster work, including pancake mixers, electric mixers, and even foot stomping.
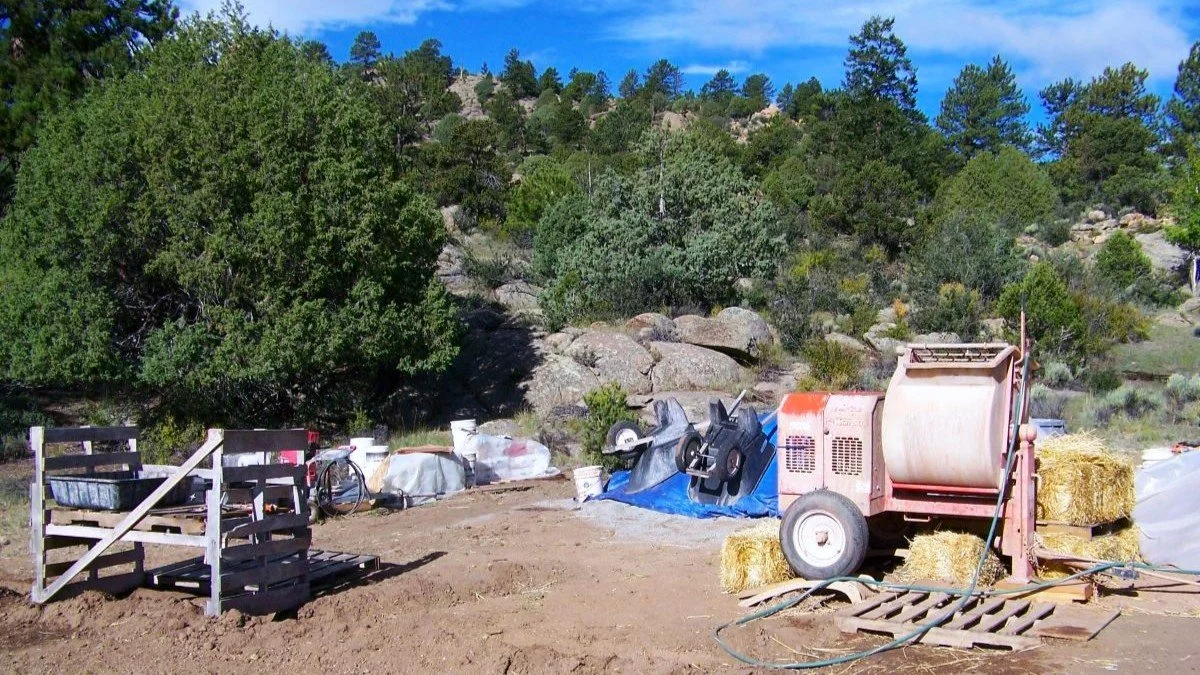
For larger plaster jobs, I prefer a gas-powered mortar mixer with roughly a 9-cubic-foot drum.
A mortar mixer differs from a cement mixer. In a cement mixer, the drum rotates. In a mortar mixer, the drum stays in place while paddles rotate through the material.
For bulk plastering, the gas-powered mortar mixer gives me the batch size and production rate I want.
Raise the Mixer
I like the mixer high enough for a wheelbarrow to roll comfortably beneath the opening and for the mixer to dump its full contents.
One of the safest setups I have found is to put the mixer on quality car ramps and secure the wheels to the ramps with tie-down straps.
The added height makes loading wheelbarrows much easier and lets gravity do more of the work.
Build a Platform for the Mixer Operator
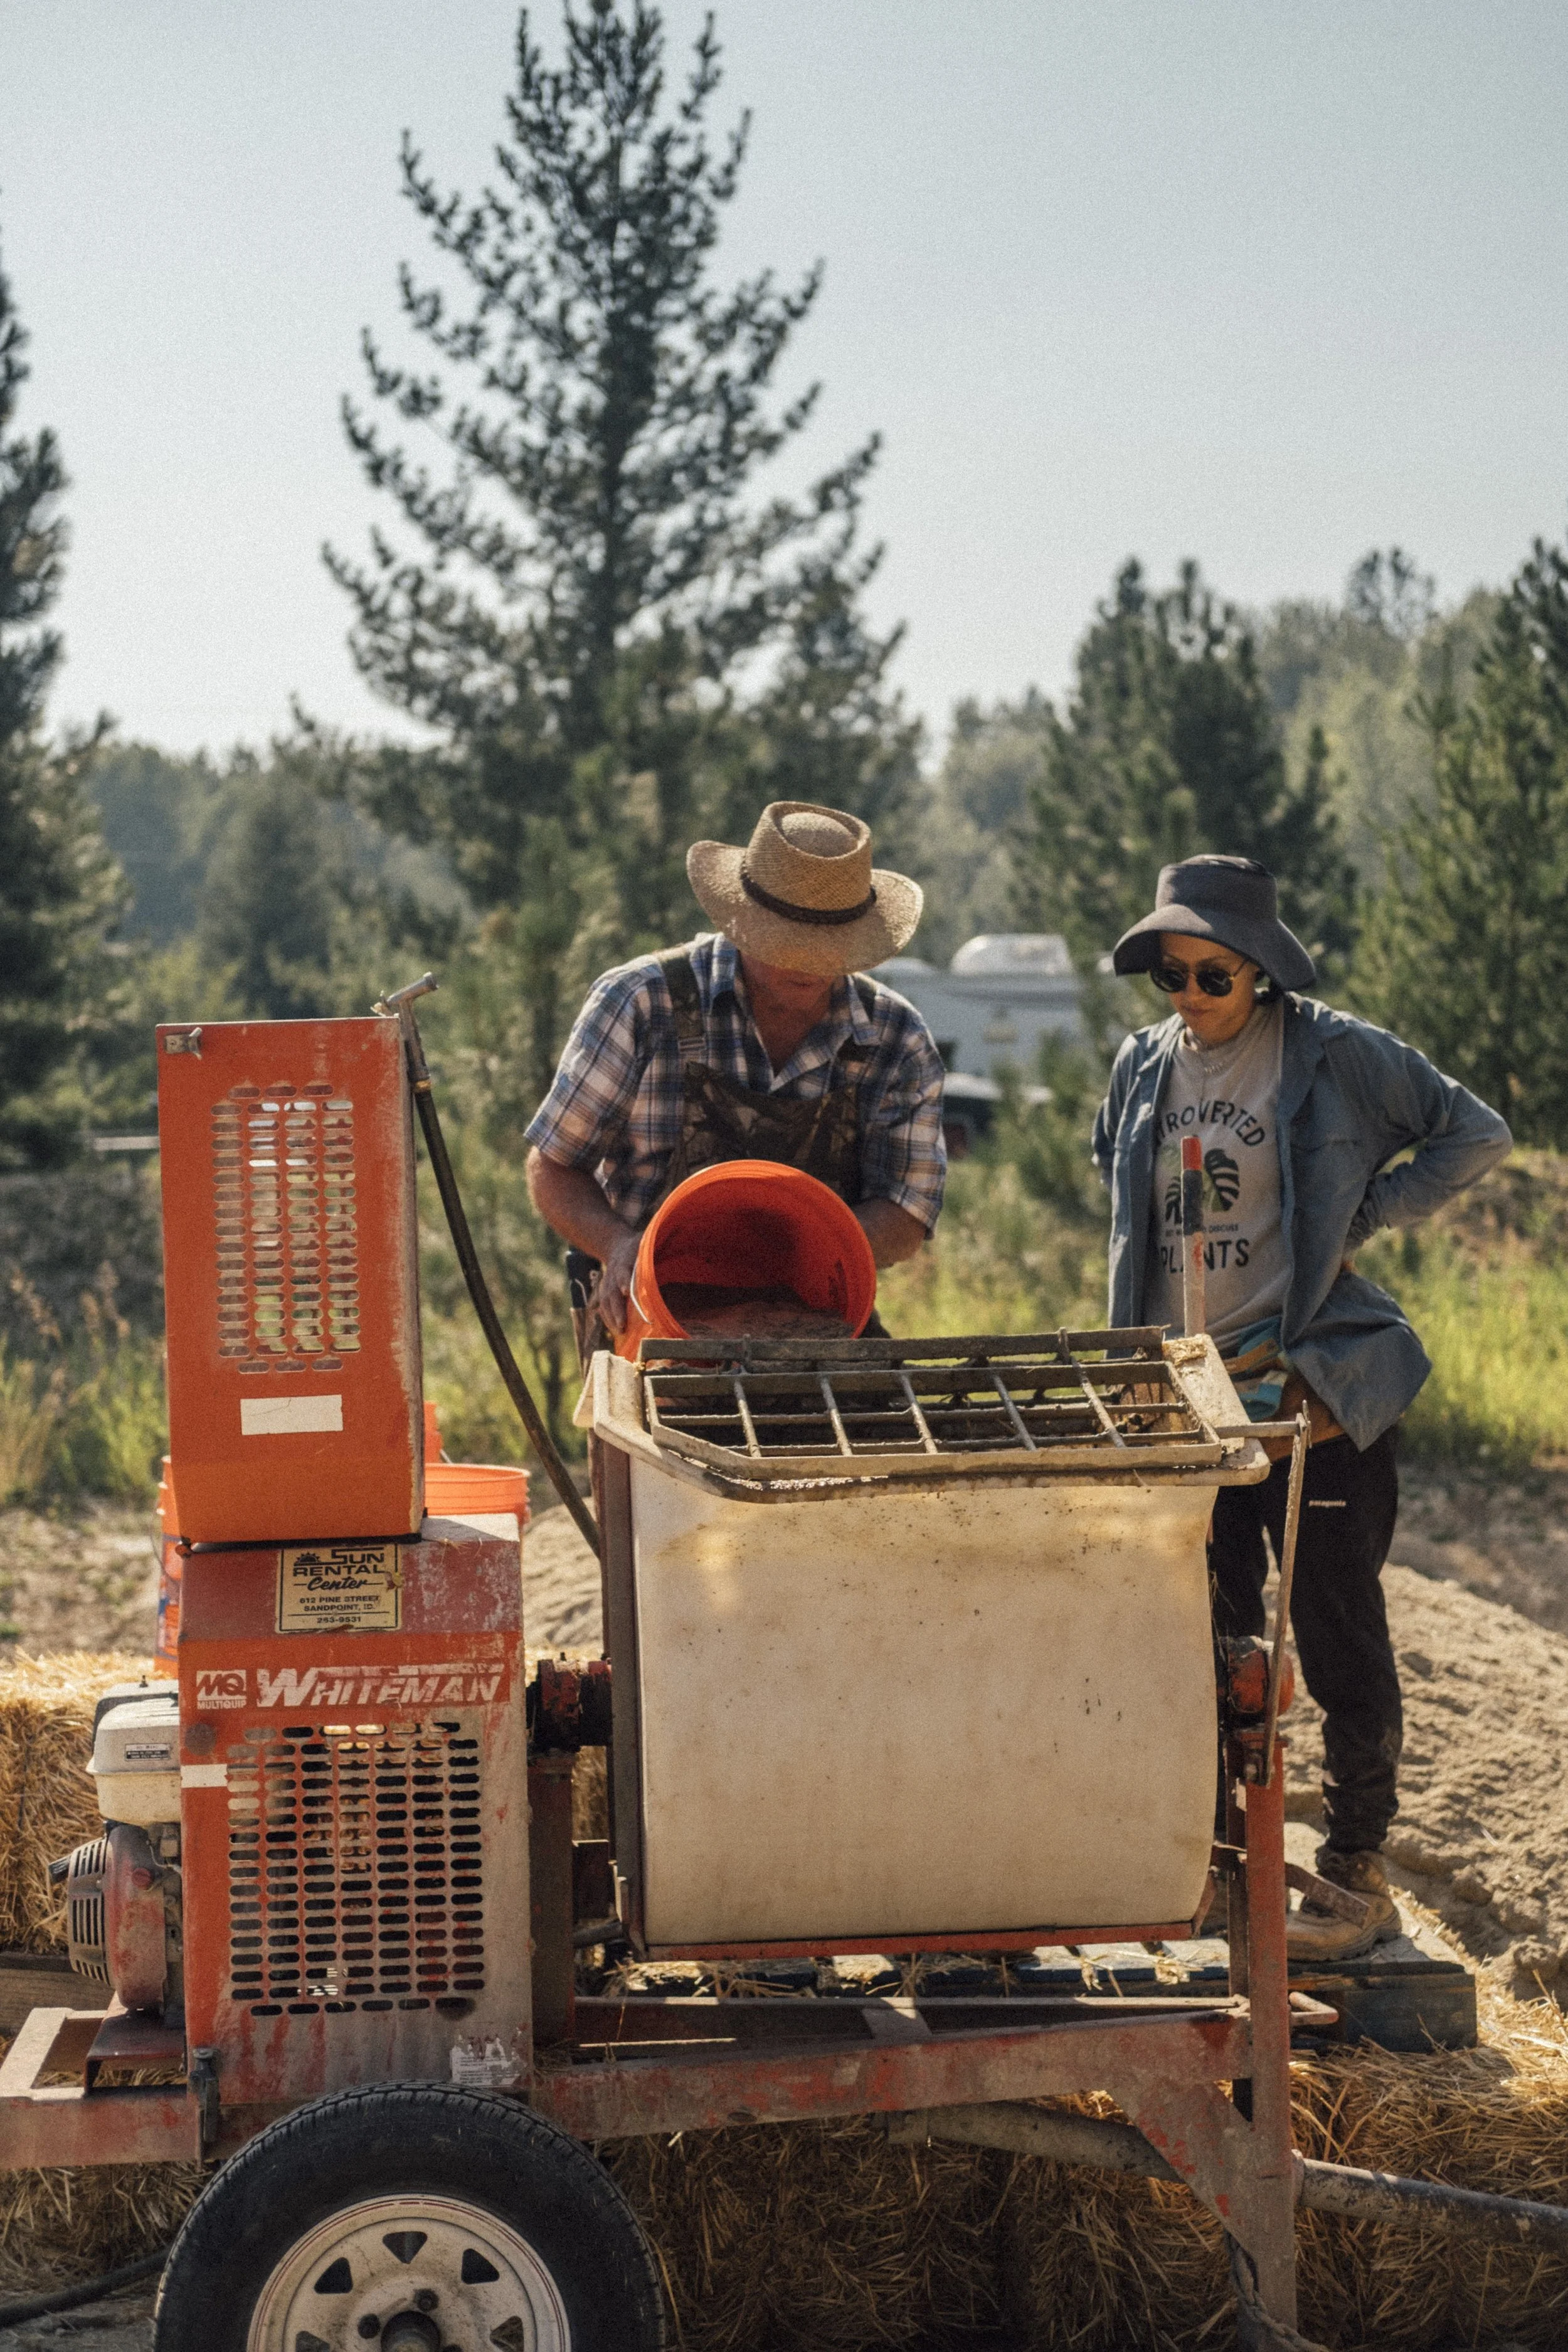
📸 Griffin Moore
Once the mixer is raised, the person running it also needs to come up.
We often build a simple platform beside the mixer using straw bales with a few good-quality pallets or a wood platform laid across the top.
This gives the operator a better view into the mixer and reduces how high buckets and bags need to be lifted.
The platform needs to feel solid underfoot. You will spend a lot of time standing there.
Measure and Load the Sand
I like to measure sand with five-gallon buckets.
Buckets give me a consistent way to measure each batch, especially when several people rotate through the mixing station. Once the proportions are established, everyone knows how many buckets go into each batch.
Some plasterers prefer to skip the buckets and shovel sand straight into the mixer. That reduces one handling step.
Both approaches work. I prefer the consistency of buckets.
Think About Drainage Before You Start
The plaster station gets wet.
You will rinse the mixer, wash tools, and spill water. Without some planning, the area around the mixer turns into a muddy mess.
One simple trick we use is to bury an old pallet beneath the area where the mixer dumps.
The pallet creates drainage space below the working surface so wash water drops below your feet instead of pooling around them.
Also think about where the water goes from there. Direct it away from the house, stored materials, landscaping, driveways, and finished surfaces.
Stage the Materials Close By
Once the mixer location is established, organize the materials around it.
Bulk sand should sit close enough to move efficiently to the mixer. If you are buying sand in bulk, make sure a dump truck has room to get in, dump, and get back out.
Bagged materials should also sit nearby, preferably on pallets and protected from weather.
Water needs to be close and reliable.
When the station works well, everything needed for a batch sits within a few steps of the mixer.
Give the Wheelbarrows a Clear Path
The plaster station does not end at the mixer.
Look at the route between the mixer and the walls.
Keep the path reasonably level, clear of debris, and wide enough for a loaded wheelbarrow. Avoid tight corners where possible. Build ramps over steps or raised thresholds before plastering begins.
You will travel this route hundreds of times, so small improvements matter.
Add a Cleaning Station
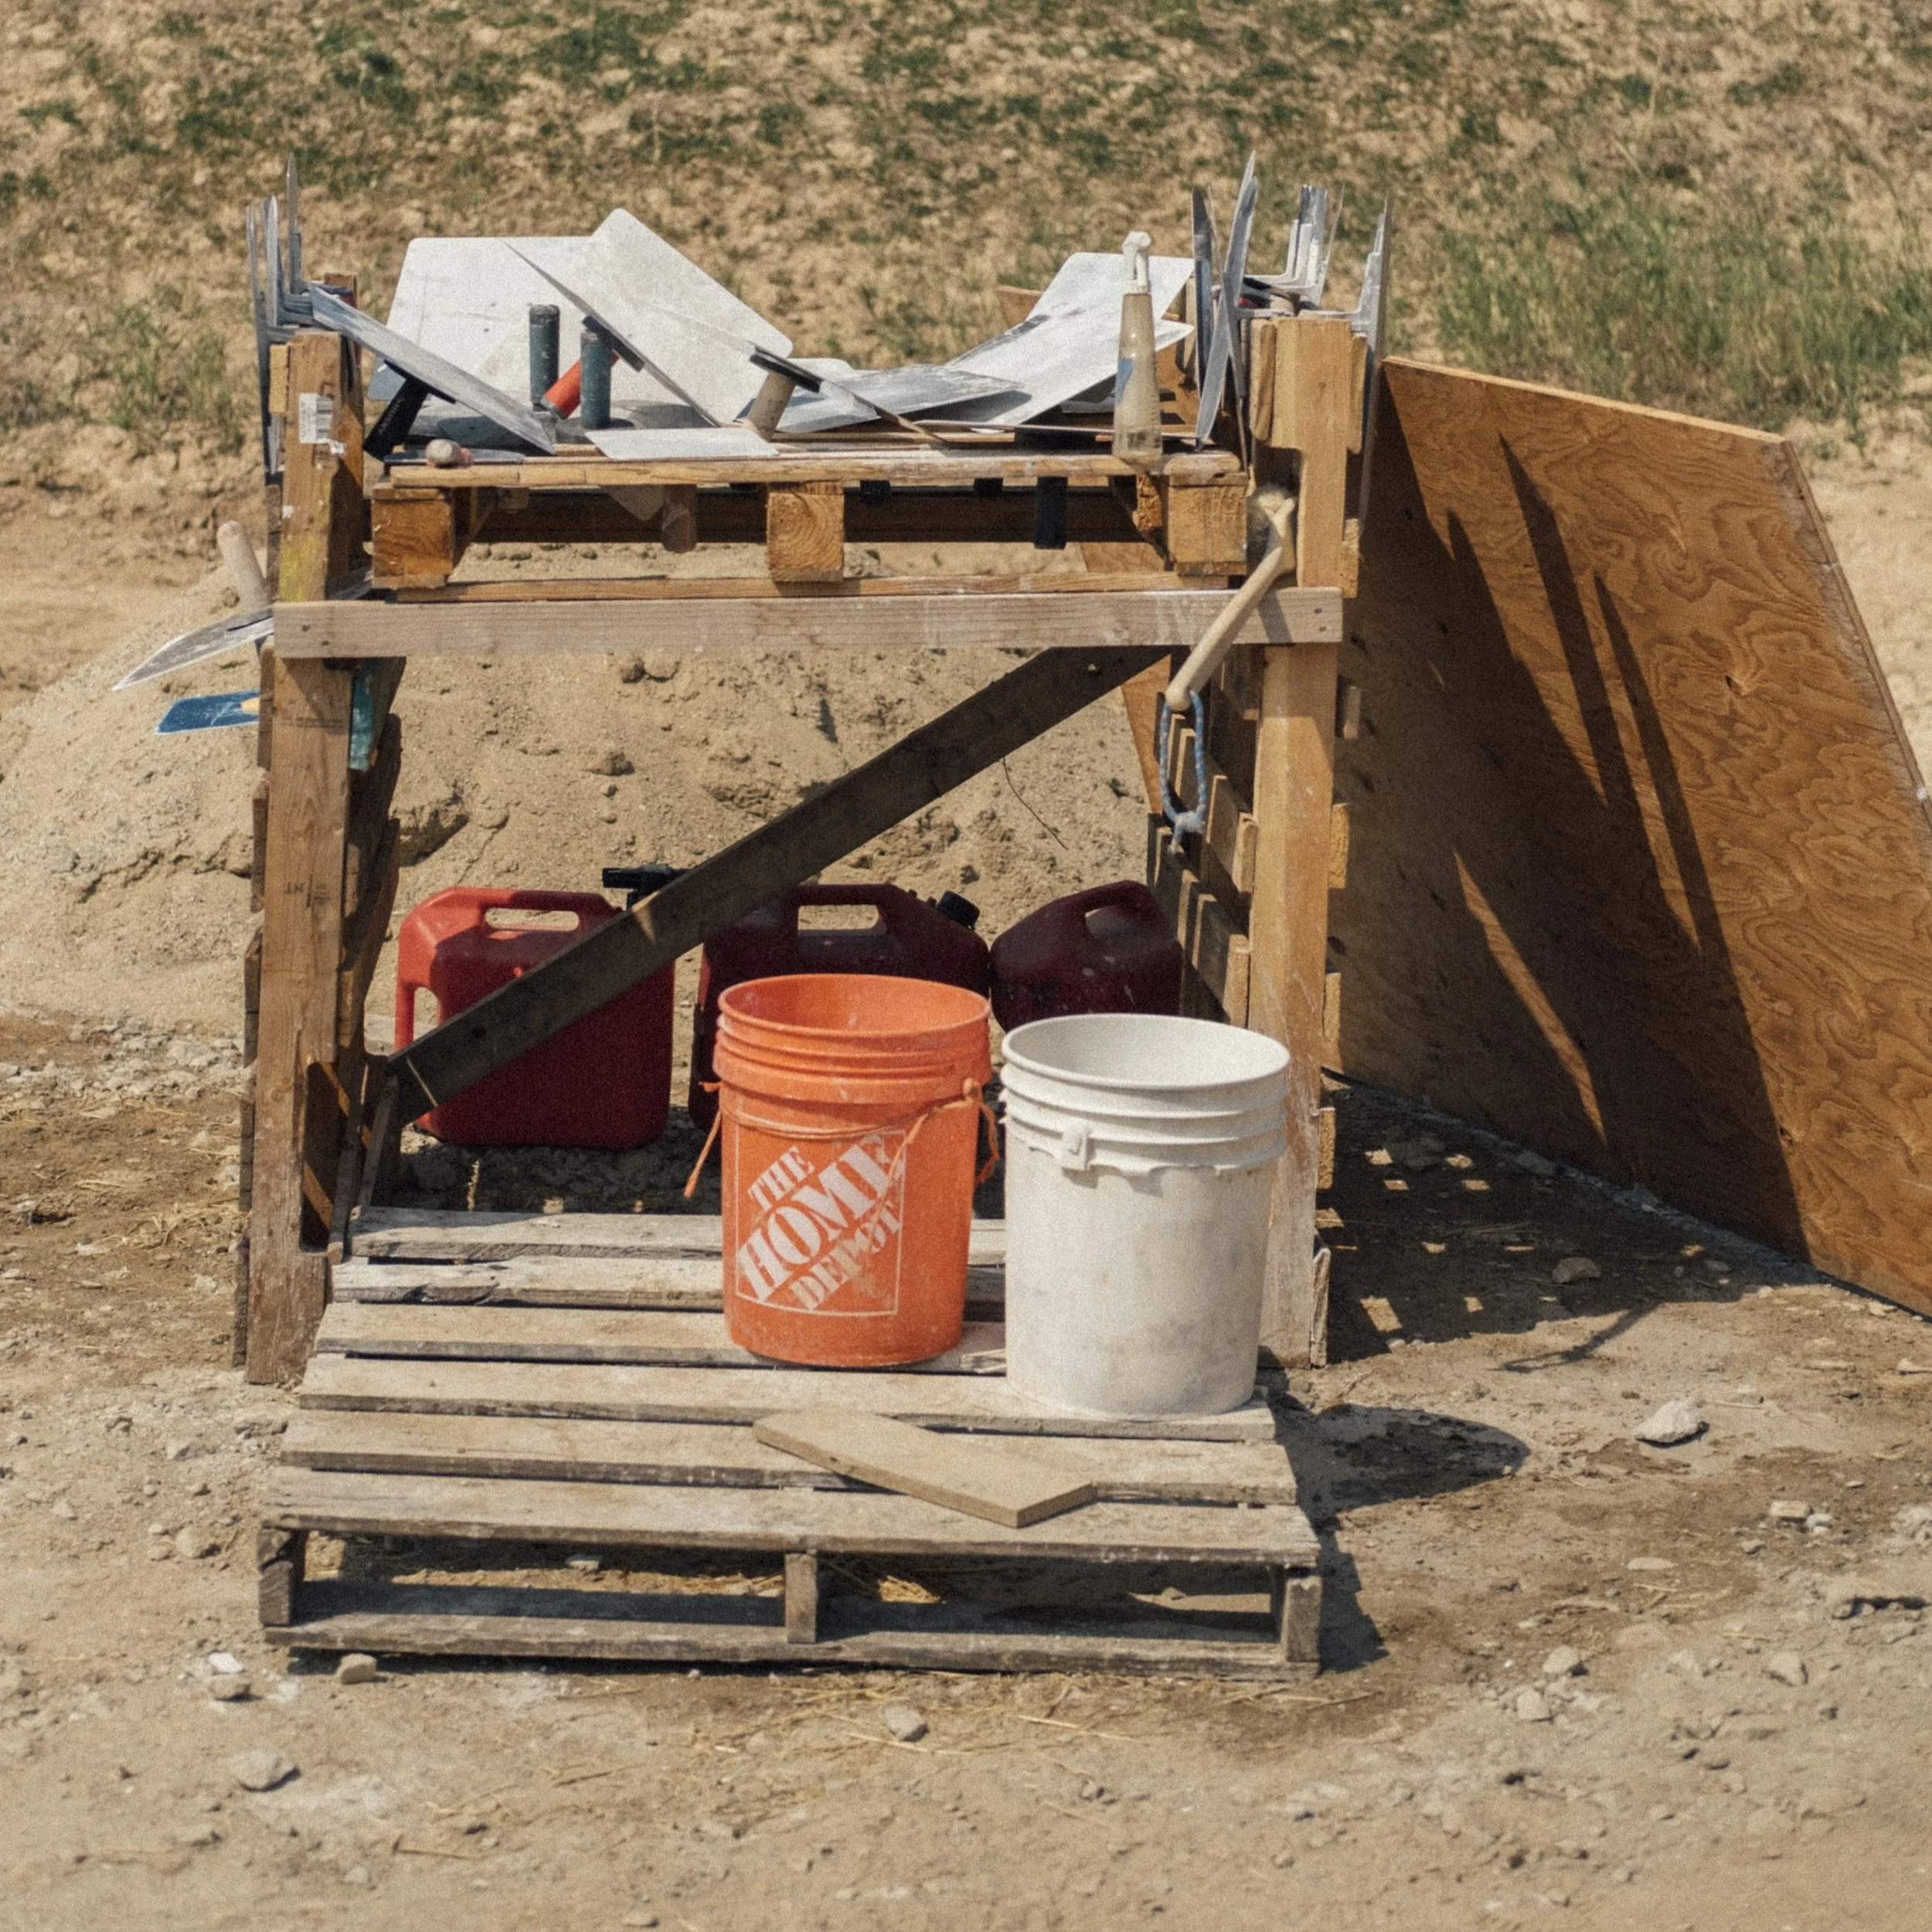
📸 Griffin Moore
A separate cleaning area is one of my favorite additions to the plaster setup.
A few old pallets fastened together create a useful platform. Add a basin or container for water and keep a few stiff brushes nearby.
Now hawks, trowels, buckets, floats, and other tools have a designated place to be washed.
A separate cleaning station keeps the main mixing area more organized and helps control where the wash water goes.
Set Up the Station That Works for You
You can organize a plaster station in many ways.
Someone working alone on a small project will set things up differently than a crew plastering an entire straw bale house. Site conditions, access, equipment, plaster type, and available space all affect the layout.
This is the system I like.
I want the mixer raised, a comfortable platform beside it, materials close, an easy wheelbarrow route, good drainage, and a designated cleaning area.
Most of all, I want the plaster to move through the station with as little unnecessary effort as possible.
Want to experience how a well-planned plaster station affects the entire plastering process? Join us for a hands-on workshop and work through the process yourself, from mixing and moving plaster to getting it onto the wall with an efficient crew.